Below are five exclusive, detail-driven insights that move beyond basic “tile trends” into the realm of cultivated, long-lasting design decisions.
1. Composed Transitions: Turning Thresholds into Design Moments
The most memorable tiled spaces are often defined not by their main surfaces, but by their transitions—where one material yields to another, or where the room subtly changes mood.
Instead of abrupt material changes, consider creating a deliberate “edited edge” at thresholds. A band of stone or porcelain inset in a herringbone wood floor, for example, can mark the entrance to a kitchen or bath while protecting the most trafficked zone. Similarly, a single course of contrasting tile at a doorway (e.g., charcoal between warm limestone and natural oak) becomes a visual inhale-exhale moment, helping the eye register movement through the home.
Transitions are also where technical precision becomes visible. Flawless flushness between tile and adjacent materials avoids tripping points and feels quietly luxurious underfoot. Ask your installer about substrate preparation, underlayment thickness, and transitions that eliminate clumsy reducers. A properly planned transition reads as a deliberate design move—not a compromise at the end of the project.
2. The Art of the Joint: Grout as a Design Instrument, Not an Afterthought
Sophisticated tile work is as much about the spaces between tiles as the tiles themselves. Grout color, width, and profile shape the character of the surface—from monolithic and calm to graphic and architectural.
For a serene, gallery-like effect, match grout closely to the tile color, especially in large-format porcelain or natural stone. This minimizes visual “grid” and lets veining, texture, or light reflection take the lead. For handmade or zellige-style tiles, a slightly contrasting grout can celebrate the irregularity of each piece, enhancing depth and shadow.
Joint width is equally powerful. Ultra-narrow joints (with rectified tiles) communicate precision and modernity, but require exceptional substrate preparation and skilled installation. Slightly wider joints, carefully aligned, can feel more forgiving and soft, particularly in traditional or Mediterranean-inflected interiors. Discuss with your tile professional how joint width and grout type (cement, epoxy, or hybrid) will age over time—especially in wet areas, heavy-use kitchens, or sun-drenched entries.
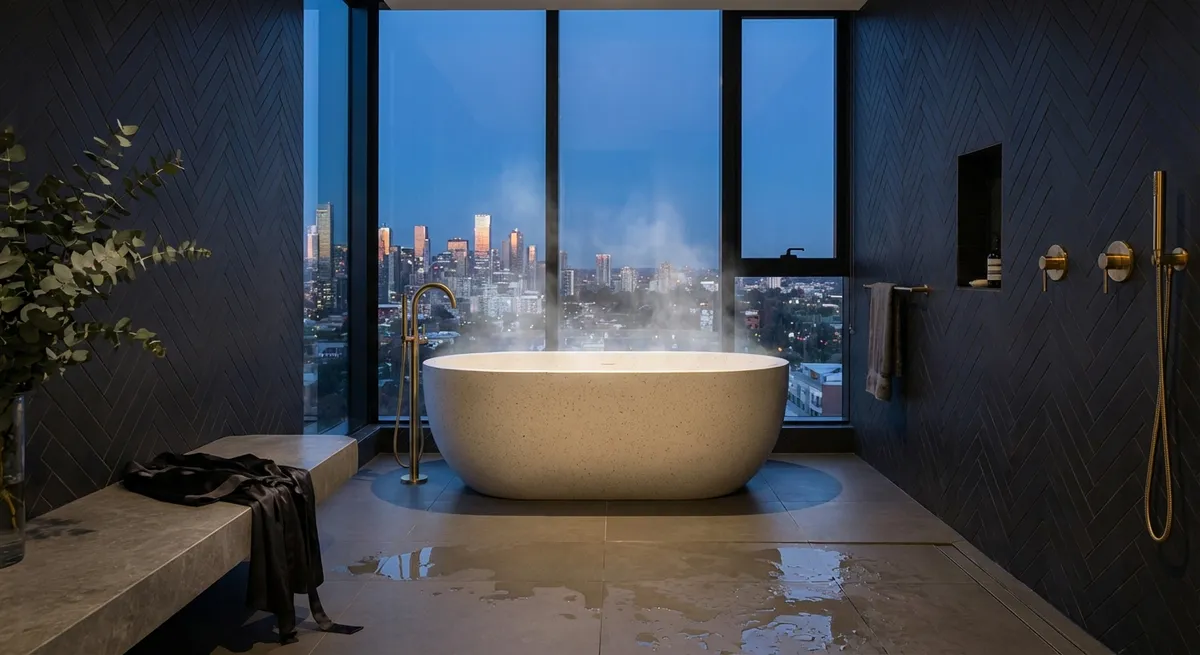
3. Curated Lightplay: Using Tile to Sculpt Shadow and Reflection
Truly elevated tile design takes light into account—both natural and artificial. The most refined rooms are not simply tiled; they are lit to reveal the surface’s character over the course of the day.
Glossy tiles near windows can quietly bounce light deeper into a space, ideal for compact kitchens or dim corridors. But high gloss behind a cooktop or in a heavily used bath may show every splash; in these settings, consider a soft satin or honed finish that diffuses reflection. Fluted, ribbed, or three-dimensional tiles are especially compelling when wall-wash lighting grazes across them, creating shifting bands of shadow that feel architectural and artful.
In showers and wet rooms, think carefully about how directional light will interact with vertical tile—from ceiling-height niches to the meeting of walls and floors. A well-placed LED strip under a floating vanity or tub plinth can make textured floor tile read as a subtle landscape. The key is to choreograph tile and lighting early in the design process so they act in concert, rather than forcing compromise once surfaces are already installed.
4. Layered Scales: Orchestrating Tile Sizes for Depth and Calm
Rather than defaulting to a single tile size throughout a home, consider a layered approach to scale: one that feels composed rather than busy. The most successful schemes often use two or three tile formats, each with a distinct role and hierarchy.
Large-format porcelain or stone on floors establishes a calm, expansive base—particularly in open-plan spaces. On walls, more slender or smaller tiles (think elongated rectangles or refined mosaics) introduce subtle rhythm without overwhelming. In key areas such as a shower niche, vanity backsplash, or fireplace surround, a specialty format or pattern can act as a focal “gesture,” provided it’s balanced by generous areas of visual rest.
Continuity remains essential. Repeating a floor tile as a shower curb, benchtop, or low wainscot can stitch spaces together, even if the wall field tile changes. Aim for a coherent palette—perhaps a trio of related tones in varying intensities—then let variation in scale and finish handle the visual interest. This creates an environment that feels curated, not chaotic.
5. Elevated Edges: Finishing Details That Signal Craftsmanship
Edges and endings are where tile work most clearly reveals its quality. A meticulously finished edge feels intentional and quiet; a raw or improvised one can undermine even the most exquisite tile selection.
Integrating mitred corners on outside edges—such as shower niches, half walls, or fireplace cladding—creates a continuous material “wrap” that reads as tailored. Where mitres are not practical, specify matching bullnose, factory-finished edges, or slim metal trims in a finish that harmonizes with your fixtures. Sleek trims in brushed nickel, black, or burnished brass can frame a tiled surface much like a picture frame, especially around windows, mirrors, and inset shelving.
Consider where tile terminates against painted plaster, stone, or wood. A perfectly straight, level termination line, aligned to architectural reference points (such as door headers, window sills, or baseboards), lends a sense of order and calm. These alignments require planning: discuss desired heights and terminations with your installer and designer before any tile is cut. In premium interiors, perfection at the edges is not decorative excess—it is the quiet proof of thoughtful design.
Conclusion
Sophisticated tile design is less about spectacle and more about orchestrated restraint: precise transitions, thoughtful joints, choreographed light, layered scales, and impeccably finished edges. When these decisions are made with intention—and executed with craft—tile ceases to be background material and becomes a defining, enduring element of the home’s character.
For homeowners who see their spaces as long-term investments in comfort and beauty, it is in these subtle, often overlooked details that true luxury resides.
Sources
- [Porcelain Tile: Interior Design and Performance Considerations](https://www.tcna.tile) - Tile Council of North America resources on performance, installation methods, and material standards
- [ANSI A108/A118/A136.1 Tile Installation Standards](https://webstore.ansi.org/standards/tcna/ansia108a118a1362022) - American National Standards Institute guidelines outlining best practices for professional tile installation
- [Lighting Design Basics – Illuminating Surfaces](https://www.arch2o.com/lighting-design-basic-know-architects/) - Arch2O article on how architectural lighting interacts with materials and surfaces
- [Residential Flooring: Substrate Preparation and Transitions](https://www.nrca.net/Technical/Content/consensusdocs/nrca_ctg_flooring) - National Roofing Contractors Association guidance that includes substrate and transition considerations relevant to tiled floors
- [Choosing and Maintaining Grout](https://www.lowes.com/n/how-to/choose-grout) - Lowe’s guide explaining grout types, color selection, and maintenance implications