If you’re planning a tile project, you’re not just buying a product—you’re commissioning a surface that will influence how your home feels every single day. The following insights pull back the curtain on what distinguishes premium tile work from merely acceptable, so you can guide your project with confidence and a trained eye.
1. Subfloor as Foundation: Why “Flat Enough” Is Never Enough
Luxury tile work starts where no one will ever look: the subfloor. The difference between a floor that feels solid and seamless and one that telegraphs shadows, lippage, or hollow sounds often lies in a few millimeters of precision. High-end installers obsess over plane, not just level—ensuring that the surface is consistently flat across the entire room so large-format tiles don’t rock, tip, or reveal subtle ridges under natural light.
Self-leveling underlayments, patching compounds, and meticulous grinding aren’t upsells; they’re the quiet insurance policy behind a refined result. Ask your installer how they plan to test the substrate: straightedges, lasers, and gauges should be part of their vocabulary, not an afterthought. A premium subfloor preparation may extend the timeline slightly, but it prevents the visual “waving” effect that can make even expensive tile read as inexpensive once installed.
Insist that substrate preparation is detailed on your proposal, not glossed over as “included.” When the base is correct, grout lines remain consistent, doors clear cleanly, and transitions to adjacent materials (hardwood, stone, carpet) feel intentional rather than improvised.
2. Layout as Design: Treating Joints, Thresholds, and Cuts Like Architecture
A truly refined tile installation begins on paper, not on the first wall. The layout is where taste, mathematics, and architecture intersect. Rather than starting “in the middle and working out,” premium installers study the room’s sightlines: where your eye lands when entering a space, how grout lines align from room to room, and where cuts will be most discreet.
Centered layouts are not automatically the most elegant. In narrow spaces like hallways or powder rooms, shifting the field to align with a focal feature (a vanity, a freestanding tub, a fireplace) often creates a far more deliberate feel. High-end work minimizes skinny sliver cuts at walls, doorways, and around fixtures, even if achieving that requires adjusting tile sizes, joint widths, or starting points.
Ask to review a layout plan before installation begins—ideally with reference points marked on the floor. Look carefully at thresholds: do tiles terminate awkwardly at door jambs, or do they flow across spaces with joints that visually “hand off” from one room to the next? The most luxurious floors often feel calm because the planning removed visual noise long before the mortar was mixed.
3. Light as a Truth Teller: Using Illumination to Refine Installation Standards
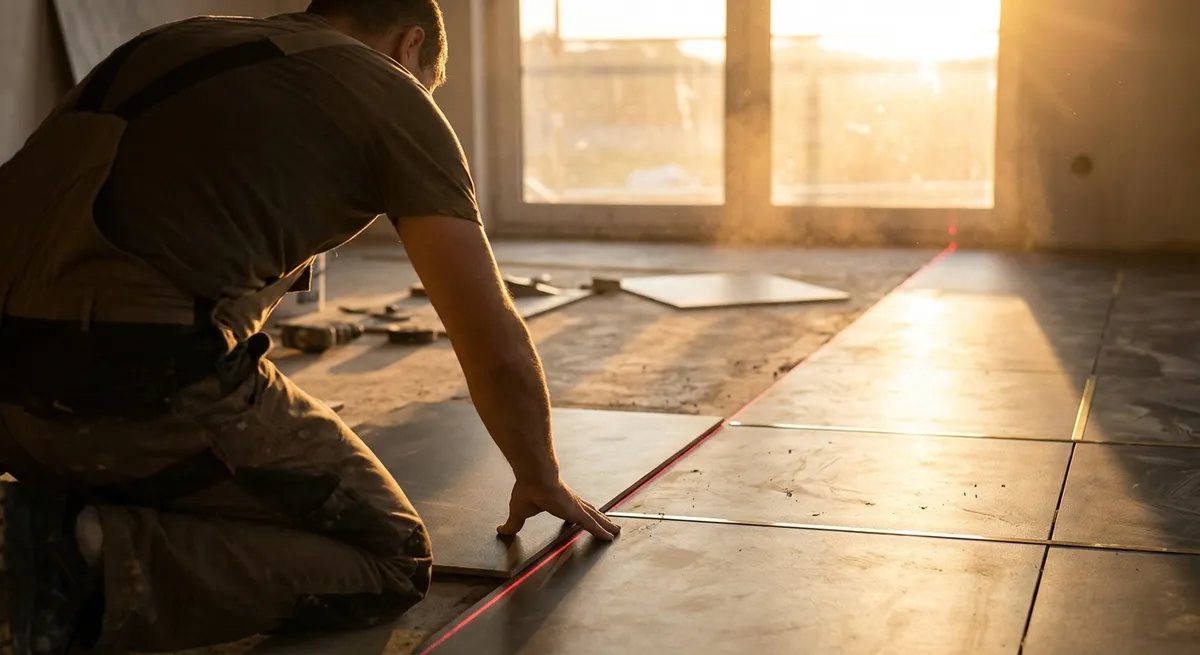
Lighting exposes the integrity of an installation more ruthlessly than any straightedge. Raking light—from floor-to-ceiling windows, wall washers, or under-cabinet strips—can amplify the smallest irregularity in tile height, grout lines, and surface flatness. What looks flawless under ambient lighting may reveal wavy grout joints or lippage under strong directional light.
Before installation, stand in the room at different times of day and notice how natural light travels across the surfaces. If you have or plan to add wall washers, linear LEDs, or strong downlights, share this with your installer so they understand which walls and areas will be most visually demanding. Premium installers will often “dry-lay” sections, then view them under existing or temporary lighting to verify that patterns and surfaces read correctly.
For large-format, polished, or rectified tiles, this step is especially critical. Consider that the more reflective the tile, the more your lighting design becomes part of the finished aesthetic—and the more precise the installation must be. When planning a high-end space, treat tile and lighting as a pair, not as separate decisions made months apart.
4. Grout as a Design Material, Not a Filler
In sophisticated interiors, grout is never an afterthought. It’s the subtle frame that can either elevate your tile choice or distract from it. Color, texture, joint width, and even grout sheen impact how modern or traditional, bold or quiet, your installation will feel. Many homeowners choose grout at the very end; premium results come when grout is considered from the beginning as part of the palette.
Neutral grout matched closely to the tile body can create a seamless, stone-like field—ideal for minimalist or spa-inspired spaces. A slightly contrasting grout emphasizes pattern and geometry, which can be stunning for chevron, herringbone, or intricate mosaics, but risky with busy veining or heavy movement. High-quality grouts offer stain resistance, color consistency, and finer aggregates that produce a smoother joint—details that become very apparent in close-up, everyday use.
Insist on a grout sample board or a small mock-up before committing, especially for feature spaces like primary baths or kitchen backsplashes. Discuss joint width explicitly; a few millimeters wider or narrower can change the entire read of a tiled wall. Tighter joints usually feel more contemporary and tailored, but only if the tile is rated and manufactured for that level of precision.
5. Transitions, Edges, and Terminations: Where True Craftsmanship Shows
The most revealing moments in tile work happen at the edges: where tile meets drywall, glass, cabinetry, metal, or another flooring material. Clean, intentional terminations tell you instantly whether a project was executed with care or simply completed. Luxury installations rarely leave edges to chance or rely on heavy caulking to “solve” messy intersections.
Consider how stair noses, niche edges, window returns, and shower entrances will be finished. Will they use stone or tile miters, slim metal profiles, or custom-fabricated pieces? Each approach carries a different visual language—sleek and contemporary, or more classic and architectural. Poorly planned edges create awkward overhangs, exposed tile bodies, or misaligned profiles that undermine even the finest materials.
Ask your installer to walk you through every transition in the space before work begins, from floor-to-floor junctions to the top edge of a shower wall. This is also the stage to decide whether you want minimalistic trim profiles that nearly disappear, or more expressive metal or stone details that act as a subtle frame. The most elevated projects treat each edge like a tailored seam in couture clothing: nearly invisible, but structurally essential and quietly luxurious.
Conclusion
Flawless tile work is rarely about one dramatic gesture; it’s the sum of many precise, often invisible decisions. When you understand what to look for—substrate preparation, thoughtful layout, light-aware installation, curated grout choices, and impeccably finished edges—you move from being a passive client to a discerning collaborator in the process.
Approach your tile installation with the same rigor you’d bring to commissioning a piece of custom furniture or art. Ask detailed questions, expect mock-ups where appropriate, and prioritize planning over speed. In return, you’ll gain surfaces that don’t just look refined in photographs, but feel quietly exceptional every time your hand or bare feet come into contact with them.