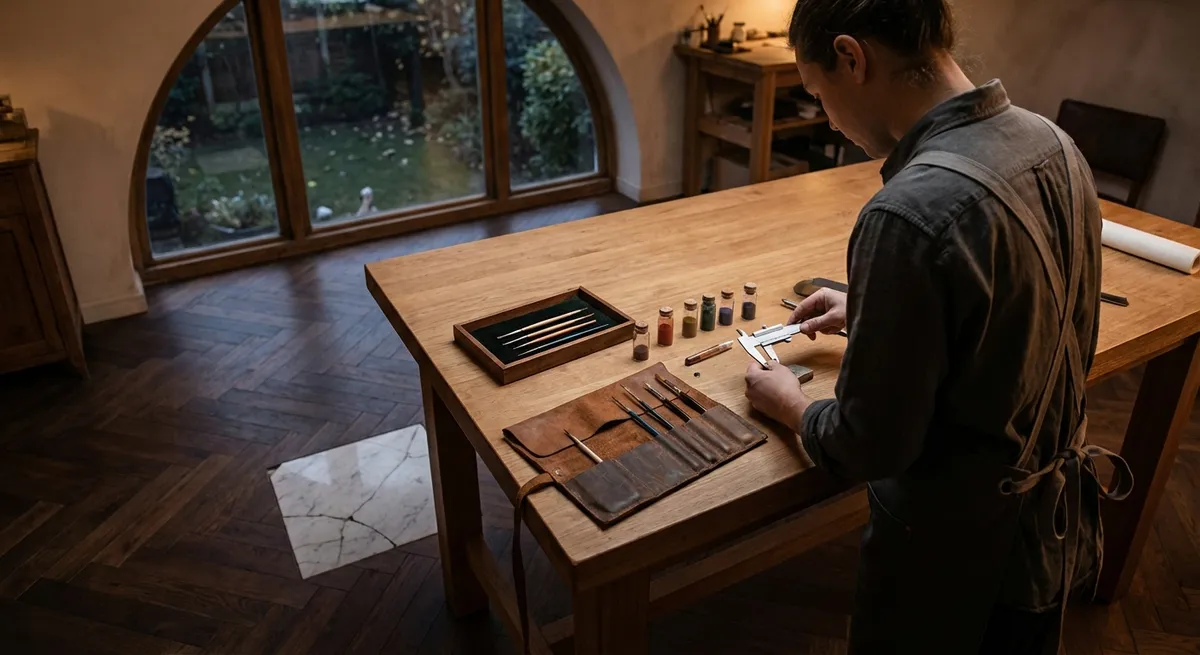
This guide explores sophisticated repair solutions that respect both craftsmanship and aesthetics, with five exclusive insights that discerning homeowners can use to elevate every decision, from the first diagnostic tap to the final grout wipe.
Reading the Floor: Diagnosis as a Design Discipline
Effective repair begins long before the first tile is lifted. A premium repair strategy treats diagnosis as a discipline—one that blends technical knowledge with a curator’s eye for detail.
Start with a methodical survey of the area, noting patterns in failure: clustered cracks, isolated chips, or a progression of hollow sounds near high-traffic paths. Observe transitions—doorways, thresholds, and changes in substrate—because these are frequent stress points. Subtle grout discoloration may flag moisture migration even when the tile itself appears perfect.
In sophisticated interiors, the goal is not simply to identify what has failed, but to understand why it failed in relation to the original design. Was the tile choice appropriate for the substrate? Were movement joints respected? Has the home settled or shifted over time? This kind of interrogation informs a repair solution that honors both the engineering and the aesthetics of the space, rather than treating tile as a surface to be patched.
Exclusive Insight #1: Treat Sound as a Structural Diagnostic Tool
Most homeowners lightly tap tile to check for hollowness, then stop there. A more refined approach uses sound as a mapped diagnostic—much like a physician using a stethoscope, not a hammer.
Use a consistent tapping tool (the rounded end of a screwdriver or a dedicated tile sounding tool) and listen for three key tones:
- A solid, dense tone suggests good bond and properly supported mortar.
- A sharper, slightly drummy tone may indicate partial voids beneath the tile.
- A full, hollow resonance often signals a failed bond or inadequate mortar coverage.
Mark suspect areas with painter’s tape, looking for patterns: linear zones along joists, clusters near perimeter walls, or arcs near transitions. A pattern suggests systemic issues (movement, deflection, or under-prepared substrate) rather than isolated installation errors.
By elevating “sounding” from a casual test to a mapped, documented process, you empower your tile professional to design a repair that addresses underlying causes rather than solely cosmetic symptoms.
Exclusive Insight #2: Micro-Matching Matters More Than Exact Matching
Many homeowners fixate on finding the exact replacement tile—same batch, same sheen, same everything. In reality, with aging installations, a flawless visual outcome often depends more on micro-matching than on perfect replication.
Micro-matching considers:
- Sheen evolution: Glazed tiles lose some gloss over years of cleaning and foot traffic. A new tile from the same series may appear too bright. A skilled professional may selectively burnish adjacent tiles, adjust lighting angles, or use carefully chosen cleaning techniques to harmonize sheen.
- Grout aging: Grout color shifts subtly with time, maintenance products, and UV exposure. Instead of chasing the original grout color, a premium repair aims to match the current appearance, occasionally custom-tinting grout or using pigmented sealers to blend old and new.
- Pattern rhythm: In patterned or veined materials, the position of a replacement tile relative to its neighbors is crucial. Sometimes, the better aesthetic choice is to replace a slightly larger field (for example, a 3×3 tile cluster) to maintain the rhythm of veining, rather than a single isolated tile.
The result is not visual perfection in isolation, but perceptual invisibility in context—the repaired area disappears into the broader composition of the room.
Exclusive Insight #3: Intelligent De-Bonding Protects Adjacent Perfection
Removing a single tile in an otherwise flawless field requires far more finesse than most homeowners realize. The objective is simple: rescue what must be replaced without sacrificing what is still perfect.
A sophisticated de-bonding plan includes:
- Joint isolation: Before any force is applied, grout joints around the target tile are carefully cut full-depth with a precision blade to decouple it from its neighbors.
- Controlled segmentation: Rather than prying at corners, a professional will often cut the tile into smaller segments (using a saw with dust management) and remove them inward, reducing outward pressure on adjacent tiles.
- Substrate preservation: Once the tile is removed, the setting bed is evaluated. Where possible, a thin, intact, properly bonded mortar bed may be preserved and skimmed, rather than fully demolished—particularly in older installations with traditional mud beds that would be costly to recreate.
This approach respects the hierarchy of your installation: the substrate and neighboring field tile are more valuable than any single failed piece. Intelligent de-bonding acknowledges that the goal is not just a new tile, but a minimally disturbed, long-lived system.
Exclusive Insight #4: Grout as a Design-Controlled Expansion Buffer
Grout is often treated as an afterthought: a color choice and a joint width. In reality, grout plays a quiet but essential role as a flexible buffer within the tile assembly. When failures appear—cracked grout lines, hairline fractures at edges—these are often early indicators that movement is not being managed correctly.
A premium repair approach uses grout intentionally:
- Re-thinking joint width: In problematic areas, slightly adjusting grout joint width can subtly change how movement and stress are distributed, particularly along large-format tile or at transitions between rooms.
- Selective use of flexible joints: Replacing rigid grout with a color-matched, flexible sealant at key locations (perimeters, changes in plane, door thresholds) can significantly reduce cracking without visually disrupting the design.
- Grout type as a tool: For high-movement areas or substrates with marginal stiffness, a higher-performance grout (such as a flexible, polymer-modified or epoxy grout where appropriate) can help maintain both appearance and integrity.
By understanding grout as a strategic expansion and stress-management component—not mere filler—you convert a potential failure point into an asset that preserves the surrounding tilework.
Exclusive Insight #5: Pair Repair with Structural and Environmental Calibration
The most elegant repair in the world will age poorly if the forces acting beneath the tile remain uncontrolled. High-end solutions do more than reset tile; they recalibrate the environment in which that tile lives.
Consider the following during a repair project:
- Subfloor stiffness verification: Especially with large-format tile or natural stone, deflection (bounce) matters. A tile specialist may recommend reinforcement from below—adding blocking, sistering joists, or upgrading underlayment—to align with industry deflection criteria.
- Moisture and vapor management: In basements, on slabs, or in bathrooms, moisture can break bonds, discolor grout, and foster efflorescence. A thoughtful repair integrates moisture testing and, when needed, vapor-retarding membranes or crack isolation membranes beneath the new tile.
- Thermal and radiant systems compatibility: If radiant heating is present, the repair should account for expansion from repeated heating and cooling cycles—sometimes requiring uncoupling membranes or modified mortars designed for thermal variation.
- Future access planning: In areas where access may later be needed—clean-outs, floor drains, or service chases—a refined repair may discreetly integrate “sacrificial” or easily removable tile panels, preserving the rest of the field.
By pairing the visible repair with invisible calibration, you transform a one-time fix into a strategic upgrade of the entire assembly, extending both performance and visual longevity.
Coordinating with Professionals: Setting a Higher Standard
Homeowners who care about refined details should feel empowered to expect more from tile repair than a simple “rip and replace.” When interviewing professionals, ask about their diagnostic process, their approach to preserving adjacent tile, and how they evaluate substrates, movement joints, and moisture.
Request that any repair plan address three layers explicitly:
- Symptom – What will be visibly corrected (cracks, hollow spots, failed grout).
- Cause – What underlying issue is being resolved (movement, moisture, poor bond, structural deflection).
- Future-proofing – What is being added or modified to prevent recurrence (membranes, movement joints, substrate reinforcement).
Professionals who articulate all three layers are far more likely to deliver repairs that not only restore your surfaces, but preserve the architectural calm and continuity that define a truly premium tile installation.
Conclusion
Intelligent tile repair lives in the tension between preservation and intervention. It respects the existing composition while refusing to tolerate hidden weaknesses. By elevating diagnostics, embracing micro-matching, protecting adjacent tile, using grout as a strategic tool, and pairing visible fixes with structural calibration, homeowners can transform “repair” from a reluctant necessity into an opportunity to enhance the performance and quiet luxury of their spaces.
In a well-considered home, every tile, every joint, and every transition participates in the overall experience. Thoughtful repair ensures that when you cross a room, what you feel underfoot is not the memory of a failure, but the assurance of a surface designed—and maintained—to endure.
Sources
- [Tile Council of North America (TCNA) Handbook](https://www.tcnatile.com/faqs/69-handbook-faqs.html) - Industry reference for tile installation standards, movement joints, and substrate requirements
- [Schluter Systems – Uncoupling and Crack Isolation Membranes](https://www.schluter.com/schluter-us/en_US/Membranes/c/M) - Technical information on mitigating substrate movement and protecting tile assemblies
- [Custom Building Products – Technical Data Sheets](https://www.custombuildingproducts.com/resources/product-information) - Detailed specifications for mortars, grouts, and setting materials used in advanced repair solutions
- [U.S. General Services Administration – Tile Flooring Guide](https://www.gsa.gov/technical-procedures/tile-flooring) - Government guidance on tile flooring performance, substrate preparation, and repair considerations
- [American National Standards Institute (ANSI) – Ceramic Tile Standards Overview](https://www.tileusa.com/ansi-standards/) - Overview of ANSI standards related to ceramic tile installation and performance