Below are five exclusive, detail‑driven insights that elevate tile repair from basic maintenance to a disciplined, almost invisible art.
1. Color Is Not Enough: Mastering Shade, Sheen, and Scale
Many homeowners focus solely on matching color when sourcing replacement tiles or grout. In sophisticated interiors, that is only the beginning.
A truly discreet repair considers three intertwined elements: shade, sheen, and scale. Two tiles may share the same base color, yet differ subtly in undertone (warm vs. cool), surface reflectivity (matte, satin, high gloss), and even micro‑texture. The same holds true for grout; a “light gray” line in sanded form will read very differently from its unsanded equivalent, particularly under raking light.
When planning a repair:
- Compare replacement tiles under the exact lighting conditions of the room—day and night, artificial and natural.
- Inspect tiles both dry and slightly damp; some glazes deepen in tone when cleaned.
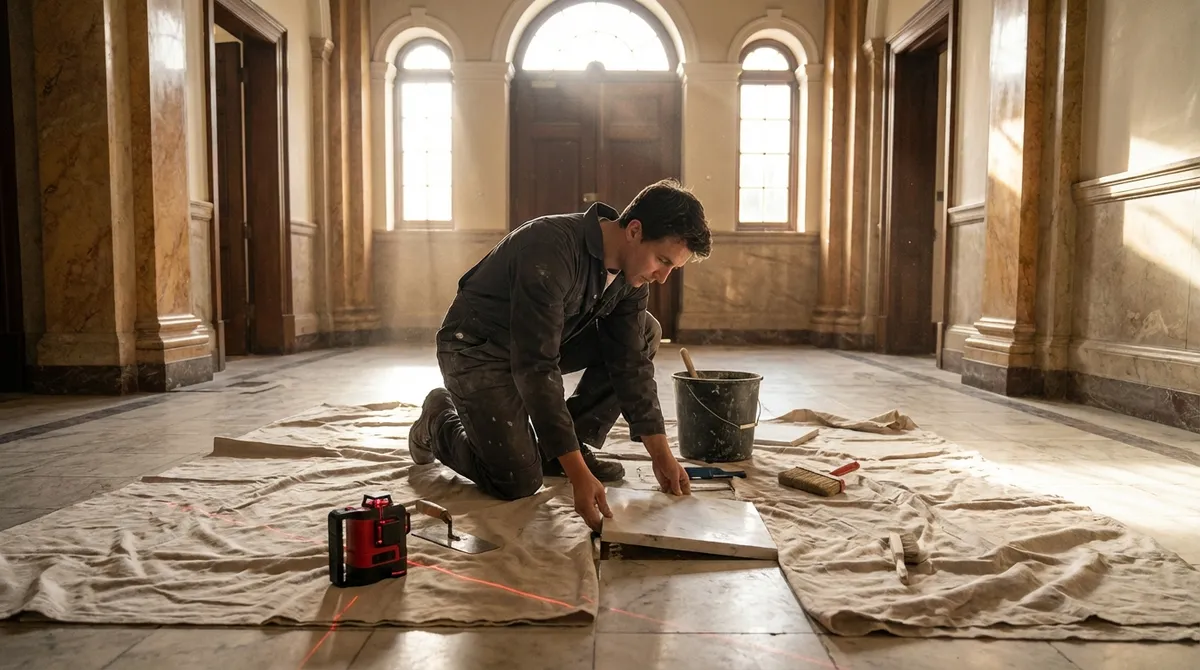
- Check dimensions with calipers rather than relying on nominal sizing; even a 1–2 mm variance can disturb a tight layout and create visible lippage.
- For grout, request small samples or color sticks and create a test board before committing to a full repair.
The objective is not a “close enough” match, but a deliberate alignment with the tile’s original visual language.
2. Respect the Assembly: Repairing the System, Not Just the Surface
Tile failures rarely begin at the tile itself. More often, they are symptoms of an underlying assembly issue—substrate movement, moisture intrusion, inadequate waterproofing, or incorrect mortar selection.
An elegant repair starts with a disciplined diagnosis:
- Isolated crack in a single tile: Often impact damage. Replacement can be localized, provided adjacent tiles are sound and firmly bonded.
- Pattern of cracks across multiple tiles: Suggests substrate movement, improper underlayment, or structural issues. A surface‑only fix will be temporary.
- Hollow‑sounding tiles: May indicate poor adhesion or voids in the mortar bed. Selective removal and re‑setting may be necessary before visible damage appears.
- Efflorescence (white mineral deposits): Points to moisture migration through the assembly, particularly in showers and exterior installations.
Sophisticated homeowners approach repair as system maintenance: verify the condition of the waterproofing membrane, backer board, and underlayment. When addressing even a “small” issue, ask your tile professional to document what they find beneath the surface. A repair that respects the entire assembly dramatically extends the life of the installation and avoids the cycle of recurring problems.
3. Controlled Removal: The Discipline of Not Disturbing What Works
In refined spaces, the true challenge of repair is not installing one new tile—it is preserving the perfection of everything around it. Controlled removal is the most overlooked phase of tile repair, and often the most decisive.
A premium approach prioritizes:
- Precision cutting: Using a multi‑tool or angle grinder with high‑quality blades to score only the grout and tile to be removed, keeping vibrations and impact to an absolute minimum.
- Joint isolation: Carefully clearing grout all the way to the substrate before attempting to lift a tile, so pressure is not transferred to adjacent pieces.
- Layer‑by‑layer removal: Rather than prying up an entire tile at once, professionals often fracture it inward in small segments, keeping leverage forces contained.
- Dust control: Using vacuum attachments and wet‑cut techniques wherever possible, which not only protects the air quality of the home but keeps micro‑debris from scratching surrounding tile.
For homeowners, the insight here is strategic: when requesting quotes or selecting a contractor, ask as many questions about their removal process as about their installation methods. The most refined repairs are defined not by what is added, but by what remains untouched.
4. Grout as a Design Instrument, Not Just a Filler
Grout lines act like the punctuation of a tiled surface—they guide the eye, define rhythm, and influence the perceived quality of the installation. When a repair introduces new grout into an existing field, this “punctuation” must be handled with nuance.
Key considerations for a polished result:
- Aging and patina: Fresh grout reads sharper and cleaner than existing grout, even in the same color. On selective repairs, a professional may slightly adjust the new grout tone or gently clean and refresh the surrounding joints to harmonize the appearance.
- Joint profile: The depth and concavity of the joint are often ignored in repairs. Repaired joints should mirror the original profile, whether they are slightly recessed, flush, or gently tooled.
- Material continuity: Switching from sanded to unsanded grout (or vice versa) during a repair can subtly change the texture and light reflectance of the lines—particularly noticeable on large, uninterrupted surfaces.
- Detail transitions: In corners, changes of plane, or where tile meets fixtures, premium practice often calls for flexible sealant rather than grout. Repairs should respect these original transitions to maintain both durability and visual consistency.
Treat grout as part of the design, not a background necessity. The result is a surface where no single line gives away where the old stops and the new begins.
5. Lighting as the Final Inspector of Your Repair
The most meticulous repair can still falter if judged only under flattering, diffuse light. In high‑end interiors, lighting design is a powerful ally—and a demanding critic.
Before you accept a completed repair:
- Evaluate under raking light: Use a strong directional light (or observe morning/late afternoon sunlight) to reveal any lippage, uneven grout joints, or inconsistent sheen across tiles.
- Check multiple viewing angles: Walk the space as you normally would. A repair that looks perfect from above may reveal irregularities when viewed from the doorway or seated height.
- Test wet conditions: In baths and kitchens, lightly mist the area. Some hairline cracks and bond failures only become visually apparent when the tile darkens from moisture.
- Observe reflections: On glossy tile, examine how reflections of windows or fixtures travel across the repaired area. A clean, unbroken reflection is a strong indicator of a well‑executed repair.
Sophisticated homeowners embrace lighting as part of the quality‑control process. When the surface remains visually quiet under harsh scrutiny, you know the repair meets a truly elevated standard.
Conclusion
Refined tile repair is less about erasing damage and more about protecting the integrity of a carefully considered space. It demands attention to shade and sheen, an understanding of the assembly beneath, disciplined removal, nuanced grout work, and an appreciation for how light reveals (or betrays) the finished result.
For the well‑kept home, the benchmark is simple: guests should notice the room, never the repair. When executed with quiet precision, tile repair becomes an investment not only in durability, but in the enduring calm and coherence of your interior.
Sources
- [Tile Council of North America (TCNA) Handbook](https://www.tcnatile.com/technical-services/honorary-tile-handbook.html) - Industry reference for tile installation and substrate standards that underpin proper repairs
- [Schluter Systems – Waterproofing and Substrate Solutions](https://www.schluter.com/schluter-us/en_US/Waterproofing/c/W) - Technical guidance on membranes and assemblies that influence long-term tile performance
- [Custom Building Products – Grout & Mortar Technical Resources](https://www.custombuildingproducts.com/how-to-guides/technical-documents) - Detailed data on grout types, mortars, and repair considerations
- [U.S. Department of Housing and Urban Development – Residential Rehabilitation Guidelines](https://www.huduser.gov/portal/publications/resrehab.html) - Broader best practices for residential repair work, including managing substrates and moisture
- [National Tile Contractors Association (NTCA)](https://www.tile-assn.com/page/Technical) - Technical articles and bulletins on professional tile installation and troubleshooting common failures