Below are five exclusive, detail-driven insights that homeowners with a cultivated eye—and the professionals who serve them—can use to ensure every repair honors the surrounding craftsmanship.
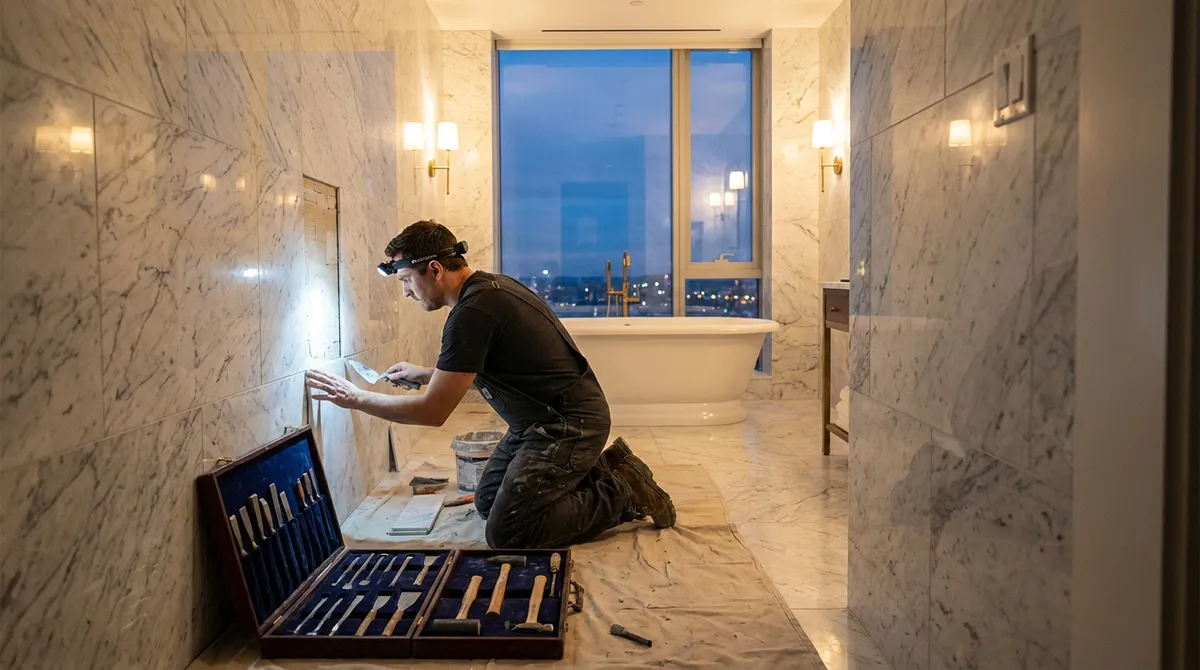
1. Treat Every Tile Repair as a Conservation Project
Approach tile repair the way a conservator approaches an artwork: prioritize preservation over replacement whenever structurally sound.
Before reaching for a chisel, evaluate whether the tile can be stabilized and visually reconciled rather than removed. Micro‑cracks in natural stone, for instance, can often be reinforced from below (if accessible) and cosmetically refined from above with color‑matched epoxies and polishing compounds. This is especially crucial in installations with discontinued or rare tile lines, where a replacement can never truly match the original batch.
Document the existing condition—photographs, batch numbers, grout color codes, and layout sketches—before any intervention. This record becomes invaluable if a more extensive repair is ever needed. By thinking like a conservator, you avoid the common trap of over‑repair: solving one minor defect while creating a patchwork of mismatched tones, grout lines, and sheen levels.
2. Color Matching Is Not Enough—You Must Match Sheen, Texture, and Aging
A visually convincing repair is an orchestration of multiple variables, not just color. Premium environments make this painfully clear: a grout joint that is the “right” color but the wrong sheen will read as a new scar every time light grazes the floor.
When repairing grout or filling chips, evaluate:
- Sheen: Is the surrounding surface matte, satin, or polished? A gloss‑heavy filler on a honed marble edge will highlight the repair instead of concealing it.
- Micro‑texture: Porcelain and stone often have subtle texture—brushed, tumbled, or lightly structured. Recreate this with careful tooling of repair compounds or ultra‑fine abrasives so the surface break feels consistent under both light and touch.
- Aging and patina: Existing grout and stone have lived with cleaning products, sunlight, and traffic. Sometimes the correct approach is to custom‑tint a grout or repair material slightly away from the manufacturer’s swatch so it matches the real, lived‑in tone of the surrounding area.
Test your repair blend in an inconspicuous area and inspect under different lighting—daylight, evening lamps, and directional architectural lighting. For premium spaces, this stage is not optional; it is the difference between a repair that disappears and one that punctures the room’s sense of continuity.
3. Precision Removal Prevents Cascading Damage
Many tile failures become costly not because of the initial issue, but because of the damage caused during removal. Distinguished tilework demands extraction techniques that isolate the problem and protect the perimeter.
Use tools and methods that favor surgical control over brute force: oscillating multi‑tools with grout‑removal blades, micro‑chisels, and variable‑speed drills with depth stops. Score grout and any surrounding caulking fully before attempting to lift the tile; this reduces lateral stress on adjacent pieces. Where radiant heat or sensitive waterproofing is present, mark safe cutting depths and stay strictly within them.
In high‑value spaces, consider creating a small “sacrifice zone” in the center of the damaged tile: drill or notch a controlled cavity and collapse the tile inward, rather than prying upward from the edges. This approach limits force on neighboring tiles and the substrate. The true measure of a refined repair is not just how the replacement tile looks—but how untouched its neighbors remain.
4. Invisible Strength: Reinforcing from Below and Behind
Some of the most effective repairs are the ones you never see because they happen behind the surface. For installations where full removal is impractical—large‑format slabs, fragile stone, or tiles set over sensitive membranes—reinforcement rather than replacement can be both discreet and structurally sound.
Where access is possible from below (for instance, in a floor over a basement or crawlspace), subtle deflection issues can be corrected by stiffening the structure instead of disturbing flawless tilework above. Sistering joists, adding blocking, or introducing additional underlayment from beneath can silence hairline crack propagation and grout fatigue.
On walls, carefully applied backing plates or localized bracing can stabilize slight movement behind shower niches or feature walls. In cases of delamination where a tile has lost bond but remains intact, low‑viscosity injection adhesives—applied with precision through micro‑holes and clamped during cure—can re‑anchor the tile without altering the surface finish. These “invisible strength” strategies respect both the material and the architectural composition.
5. Think in Systems, Not Spots: Repair as Part of a Larger Performance
A tile failure—whether a single cracked piece or recurring grout discoloration—is rarely just a surface defect; it is a performance signal from the entire system. Premium repair work reads that signal, addresses the symptom, and also investigates the cause.
When you see localized damage, examine:
- Movement and joints: Are expansion joints correctly placed and functioning? Is rigid grout or mortar bridging areas that require flexibility (transitions, perimeters, changes of plane)?
- Moisture management: In baths and kitchens, test for underlying moisture intrusion. A recurring stain or efflorescence in grout may point to drainage, vapor barrier, or waterproofing issues that no cosmetic fix alone will solve.
- Load and usage patterns: Office chairs without protective glides, rolling luggage, and daily traffic paths concentrate stress. In a refined home, subtle shifts in furniture protection or layout can dramatically extend the life of a repair.
Treat the repair as an opportunity to recalibrate the entire assembly—upgrading movement joints, improving ventilation, refining cleaning routines, or even adding protective rugs in strategic zones. The most sophisticated repair is the one you only need to perform once.
Conclusion
In a cultivated home, tile repair is not about erasing imperfections as quickly as possible; it is about restoring the continuity, geometry, and quiet luxury of the surface with minimal disturbance. By approaching each intervention as conservation, insisting on nuanced matching of sheen and patina, prioritizing precision removal, leveraging discreet reinforcement, and thinking in terms of systems rather than spots, homeowners and professionals can ensure that every “quiet rescue” reinforces the home’s overall sense of composed elegance.
The reward is a space where even after repair, the tilework still feels original—calm, coherent, and impeccably resolved.
Sources
- [Tile Council of North America (TCNA) Handbook](https://www.tcnatile.com) – Industry guidelines on tile installation methods, movement joints, and best practices
- [American National Standards Institute (ANSI) A108/A118/A136.1](https://webstore.ansi.org/standards/tca/tcaa108a118a1361) – Specifications for installation materials and procedures that inform proper repair techniques
- [Schluter Systems Technical Articles](https://www.schluter.com/schluter-us/en_US/technical-center) – Detailed discussions on substrates, waterproofing, movement joints, and tile assembly performance
- [Natural Stone Institute – Technical Bulletins](https://www.naturalstoneinstitute.org/technical/) – Guidance on stone repair, reinforcement, and maintenance for marble, limestone, and other natural stones
- [U.S. General Services Administration – Historic Building Preservation Briefs](https://www.nps.gov/tps/how-to-preserve/briefs.htm) – Preservation principles that inform conservation‑minded approaches to tile and stone restoration