Below are five exclusive, detail-driven insights that sophisticated homeowners and design-conscious renovators can use to preserve the integrity, value, and visual calm of premium tile surfaces.
1. Reading the Surface: Diagnosing by Sound, Light, and Touch
The most refined repairs begin long before any adhesive or grout is opened—they start with observation.
Take a slow, deliberate walk across your tiled space and listen. A gentle tap with the plastic end of a screwdriver or a wooden dowel can reveal hollow spots; a dull, “drummy” tone often signals a bond failure beneath an otherwise intact tile. This may be caused by improper substrate preparation, voids in thinset, or seasonal movement.
Next, study the tile under raking light—sunlight entering from a low angle or a spotlight placed at floor level. Slight lippage, micro-cracks, or subtle cupping that are invisible in overhead lighting suddenly reveal themselves. By marking these locations with discreet painter’s tape, you can build a precise map of concerns.
Finally, trust your fingertips. Run your hand slowly across suspect areas. A faint ridge in grout, a soft spot near a movement joint, or a barely raised corner often indicates underlying stress. Addressing these early allows for surgical correction—before a small flaw becomes a dominant visual disruption.
2. Color-Matched Restoration: Grout and Tile Blending at a Professional Level
The hallmark of an elevated tile repair is chromatic continuity. That means grout and tile touch-ups must be handled with the kind of color discipline more often seen in fine art restoration than in everyday home improvement.
For grout, rely on sample sticks or physical swatches rather than digital color charts; screen colors simply cannot reproduce the nuanced warmth or coolness of cementitious or epoxy grout. Order small quantities or test kits from premium manufacturers and create discreet test patches in an inconspicuous area (inside a closet, under a removable rug, or behind a freestanding unit).
In some cases, re-staining or recoloring grout across an entire field offers a more elegant solution than patching a single joint. A carefully applied grout colorant, selected to deepen contrast or soften an overly bright installation, can unify older and newly repaired sections into a cohesive, intentionally “designed” finish.
For tile edges or micro-chips, advanced porcelain and natural stone repair kits can work wonders. Choose kits that include multiple base tones and translucent pigments; sophisticated surfaces rarely match a single flat color. Layer thin applications, allowing each to cure fully, and finish with ultra-fine abrasives or polishing pads to match the original sheen—whether that’s a honed matte, a satin glow, or a mirror polish.
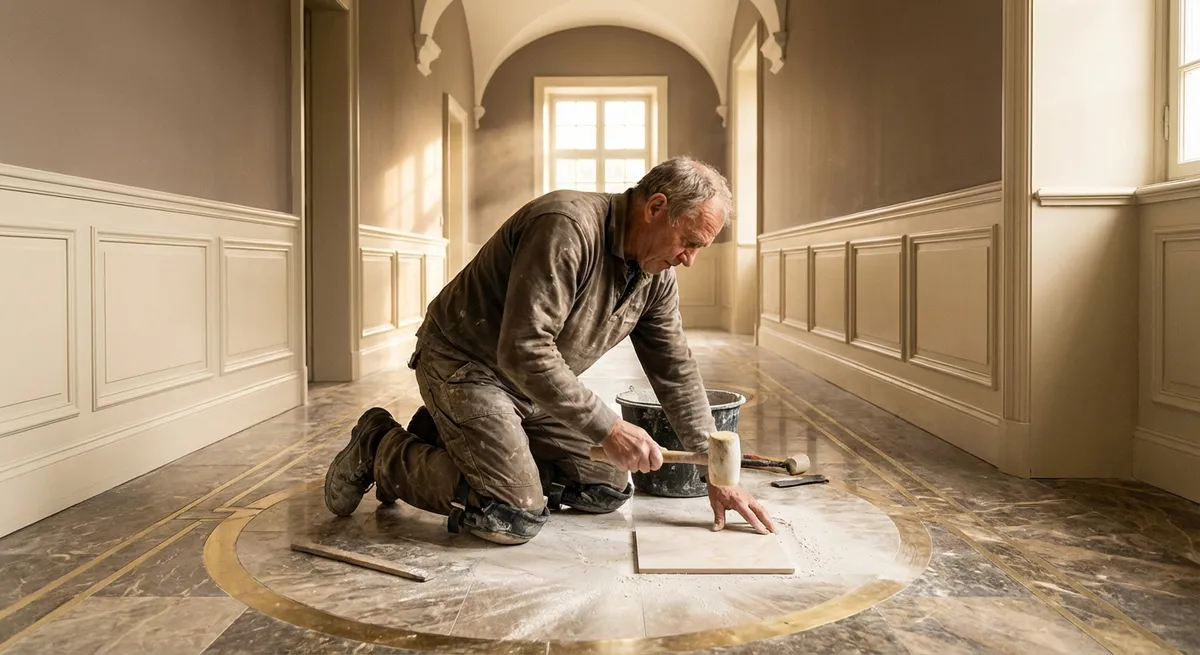
3. Invisible Intervention: Techniques That Preserve the Original Layout
In high-end rooms, the layout itself—joint alignment, tile placement, pattern continuity—is as important as the materials used. An indiscriminate tile replacement can disrupt that rhythm. A more nuanced approach is to ask: can this tile be saved in place?
For hollow tiles that are not severely cracked, professional-grade injection systems can be used to introduce adhesive beneath the tile without full removal. Small, strategically placed holes in grout joints (later re-grouted to match) allow bonding agents to be injected, restoring adhesion while leaving the tile’s face untouched. This technique avoids disturbing adjacent tiles and keeps original cuts, veining patterns, and layout intact.
When a full replacement is unavoidable, the key is precision. Score grout joints cleanly with a multi-tool and diamond blade, working slowly to avoid chipping neighboring tiles. Lift the damaged tile whole if possible; it becomes your template for selecting a replacement with compatible veining, tone variation, and calibration. For patterned or book-matched installations, study the surrounding tiles to understand the visual “flow” before committing to the orientation of the new piece.
In some sophisticated interiors, the most intelligent repair is a design-forward pivot: replacing a small damaged cluster with a precisely framed “feature field” that appears intentional rather than reactive. A contrasting mosaic inset in a shower floor or a geometric panel near a vanity can transform what began as a flaw into a focal point—when executed with tight tolerances and exacting symmetry.
4. Moisture, Movement, and Micro-Details: Solving the Underlying Cause
Premium repairs do more than conceal symptoms—they resolve the quiet structural issues that caused them.
In wet environments (showers, steam rooms, spa areas), a cracked grout line or loose tile near a drain is often a warning, not just an aesthetic issue. Before replacing any component, verify the integrity of waterproofing. Small moisture meters, combined with infrared scanning (via a professional), can reveal hidden dampness or substrate swelling. Repairing the tile without addressing compromised waterproofing is akin to repainting a wall with a leak behind it.
Movement is another subtle culprit. Wide-format tiles, heated floors, and large open spans require carefully placed movement joints—both visible (at perimeters or in large expanses) and concealed (under trim or thresholds). If cracks repeatedly appear in the same region, consider whether a decoupling membrane should have been used, or if an expansion joint is missing. Introducing a discreet, well-designed movement joint, perhaps aligned with an architectural line or a doorway, often prevents recurrent damage.
Micro-details—like improper slope in a shower floor, overly tight joints around columns, or rigid transitions between tile and hardwood—may demand small sacrifices to preserve long-term elegance. Slightly widening a movement joint, revising a transition strip to allow better tolerance, or re-cutting a handful of tiles to restore proper drainage may feel intrusive in the moment, but they safeguard the installation for years.
5. Curating a “Continuity Kit”: Future-Proofing Your Tile Investment
The most sophisticated tile repairs often depend on resources that many homeowners fail to preserve: original tiles, grout data, and installation notes. Treat your tile as you would a fine piece of furniture or a bespoke suit—something to be documented, protected, and maintainable.
Create a dedicated “continuity kit” for each important tiled space. It should include:
- A carefully labeled box of spare tiles from the original batch, stored in a dry, temperate environment
- Exact grout brand, line, and color names (and if used, lot numbers)
- Thinset and waterproofing product information, including manufacturer and system details
- Installation photos taken during construction—particularly of underlayment, membranes, and heating wires
- A record of any previous repairs: date, materials used, and before/after images
Having this archive allows a skilled tile professional to approach future repairs with near-clinical precision—matching materials, understanding what lies beneath the surface, and working with confidence rather than guesswork.
For especially distinctive stone or artisan tile, consider ordering a small supplemental quantity while it is still in production, even if you don’t foresee needing it. Years later, when that line has been retired or that quarry has changed, this foresight can mean the difference between a seamless repair and an obvious patch.
Conclusion
Exquisite tile work is as much about what you don’t notice as what you do. A truly refined repair does not call attention to itself; it restores the quiet continuity, balance, and composure of the space.
By learning to read subtle warning signs, insisting on rigorous color and layout fidelity, addressing underlying causes rather than surface symptoms, and curating a thoughtful continuity kit, homeowners can approach tile repair not as damage control, but as ongoing stewardship of a crafted surface. Done well, each intervention becomes almost invisible—preserving the story your tile is telling, without adding a single jarring note.
Sources
- [Tile Council of North America (TCNA) – Handbook for Ceramic, Glass, and Stone Tile Installation](https://www.tcnatile.com) – Industry standards and best practices for diagnosing and correcting tile installation issues
- [Schluter Systems – Movement Joints and Crack Isolation](https://www.schluter.com/schluter-us/en_US/Movement-Joints/c/MJ) – Technical guidance on managing movement and preventing tile and grout cracking
- [LATICRETE – Tile & Stone Installation and Care Guides](https://laticrete.com/en/tile-and-stone-installation) – Professional resources on adhesives, waterproofing, and grout selection for durable repairs
- [Mapei – Grout and Sealant Color Matching Resources](https://www.mapei.com/us/en-us/products-and-solutions/lines/grouts) – Information on grout systems, color consistency, and recoloring options
- [U.S. Department of Housing and Urban Development – Residential Rehabilitation Inspection Guide](https://www.hud.gov/program_offices/public_indian_housing/programs/ph/phguidebooks/rehabgde) – Broader context on diagnosing building issues, moisture, and substrate concerns that impact tile longevity