1. Treat Grout as a Design Material, Not a Cleanup Afterthought
In refined homes, grout lines are as intentional as the tile itself, yet they’re often maintained as if they were expendable. Grout is a porous, mineral-based material that absorbs liquids, stains, and even airborne oils from cooking. Neglecting it slowly alters the perceived color of the entire installation, making a premium tile look inexplicably “tired.”
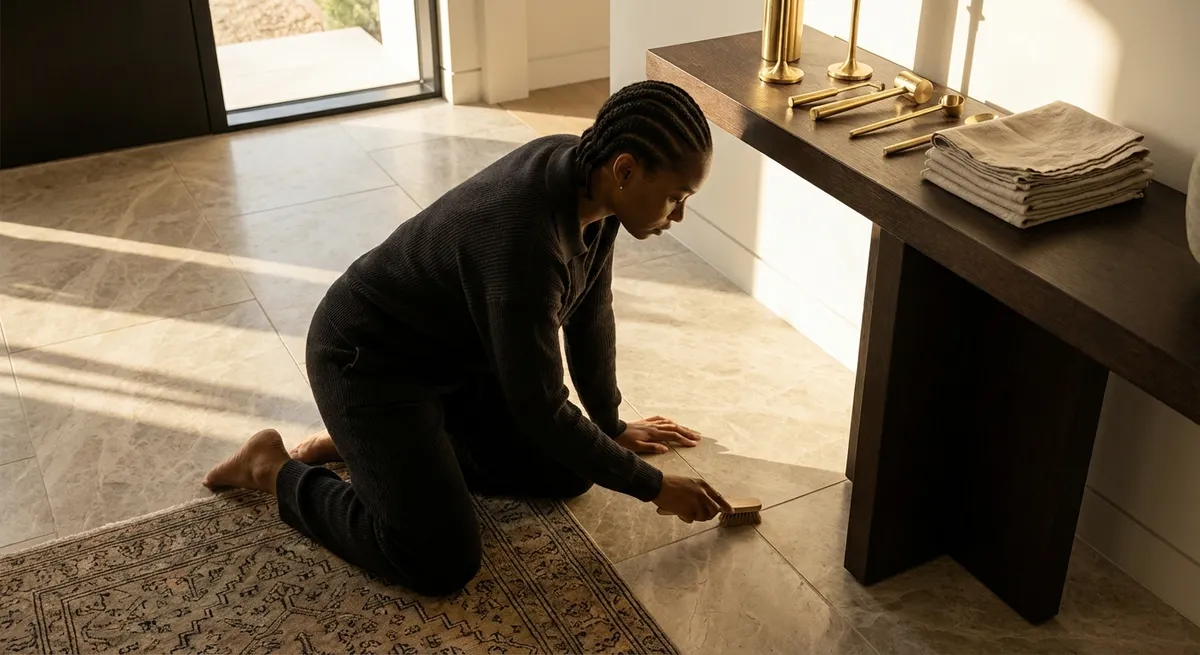
Begin by understanding what kind of grout you have: cementitious, epoxy, or urethane. Cementitious grout benefits from penetrating sealers that preserve its matte, architectural character while resisting stains. Epoxy and urethane grouts are already more stain-resistant, but they still demand gentle, pH-neutral cleaning to prevent film buildup. For daily maintenance, use a soft-bristle brush along grout lines rather than a harsh scrubbing pad that can erode the surface. If your tile layout features intentional shadow lines or tight joints, keep them crisp by cleaning in a linear direction, following the geometry of the layout. The objective is to maintain grout as a clean visual frame—not a dull, discolored border around every tile.
2. Calibrate Cleaners to the Material, Not the Mess
Instinctively, many homeowners “reach for something stronger” when confronted with a mark or spill, but luxury tile is rarely damaged by the incident itself—it’s damaged by the response. High-end porcelain, terrazzo, limestone, marble, and handmade ceramics each have distinct chemical sensitivities. Using a one-size-fits-all cleaner is the fastest way to flatten the character of premium finishes.
As a baseline, keep a pH-neutral cleaner specifically formulated for tile and stone as your daily standard. Reserve specialized products—alkaline degreasers, mildly acidic cleaners, or poultices—for rare, targeted interventions. On natural stone such as marble, avoid vinegar, lemon-based cleaners, or anything labeled “lime remover”; repeated exposure etches the surface, dulling the polish and scattering light rather than allowing it to glide across the face of the tile. With honed finishes, this etching reads as patchiness rather than “patina.” For structured or textured tiles, select a cleaner that rinses residue-free; leftover detergent catches dust and can create a persistent haze that mutes the crisp definition of the surface.
3. Preserve the Joint Lines: Respect Movement and Expansion
What distinguishes an impeccable tile installation from an average one is often invisible: properly planned movement and expansion joints. These flexible joints—at perimeters, changes of plane, or long expanses of flooring—allow the installation to breathe with temperature, humidity, and structural shifts. Poor maintenance practices can unintentionally compromise this delicate system.
Avoid “hard filling” perimeter gaps or transitions with rigid materials during cleaning or touch-ups; vacuum carefully along baseboards and door thresholds to keep these joints free of debris without packing them with dust and cleaning residues. If you notice cracking along corners of showers or where walls meet floors, understand that these are typically flexible joints, not “failed grout.” They should be caulked with an appropriate, color-matched sealant, not re-grouted. When cleaning, do not aggressively scour these areas—over time, heavy mechanical scrubbing can pull sealant away from the substrate, inviting water infiltration. Preserving these lines protects not only the tile’s geometry but also the hidden integrity of the substrate beneath.
4. Manage Micro-Scratches Before They Become a Patina You Didn’t Choose
Fine tile surfaces—especially polished porcelain, marble, and glossy glazes—are vulnerable to micro-scratching from sand, grit, and unprotected furniture. These scratches may be nearly invisible individually, but collectively they shift the way the surface reflects light. A once-crisp floor begins to look slightly “fogged,” undermining the sense of precision.
Strategically placed walk-off mats at exterior entries are an elegant first defense; choose low-profile, dense mats that complement the interior rather than disrupt it. Under dining chairs, bar stools, and movable accent pieces, use high-quality felt glides that are regularly replaced before they compress and harden. When vacuuming, ensure wheels are clean, and avoid dragging canisters across the floor. If you notice a particular traffic lane dulling before the rest of the room, gently recalibrate circulation—subtly repositioning a rug or furniture grouping can redirect wear. For natural stone, periodic professional honing and polishing, conducted by a qualified stone care specialist, can reset the surface while preserving the original character of the installation.
5. Elevate Wet Areas from “High-Risk” to “High-Performance”
Wet areas—showers, spa zones, pool surrounds, and laundry rooms—are where exceptional tile work truly proves its worth. Yet the maintenance approach here must be as considered as the waterproofing beneath the tile. The goal is to prevent moisture and mineral deposits from ever becoming a visible “issue.”
After each use of a shower with premium tile, a quick squeegee pass is one of the most effective habits you can adopt. Removing surface water dramatically reduces hard water spotting, soap scum, and mineral buildup—especially on large-format tiles and glass mosaics. In steam showers or spa-like baths, ensure adequate mechanical ventilation and allow time for surfaces to dry fully between uses to discourage mold in grout joints and silicone lines. Choose cleaners specifically labeled safe for both tile and natural stone in these spaces; aggressive bathroom cleaners often contain acids or oxidizers that slowly degrade certain glazes and etch stone. Periodically inspect niche shelves, corners, and horizontal ledges—any place water rests—for subtle changes: darkened grout, hairline cracks, or softened silicone. Addressing these early keeps moisture on the surface, where it can be easily controlled, rather than behind the tile, where remediation becomes invasive and costly.
Conclusion
Exceptional tile is a long-term conversation between materials, architecture, and daily life. Choosing beautiful stone or porcelain is only the first move; the true measure of sophistication lies in how discreetly and intelligently those surfaces are maintained. By treating grout as a design element, calibrating cleaners to the material, respecting movement joints, managing micro-scratches, and elevating wet-area care, homeowners transform routine maintenance into a quiet discipline—one that allows their tilework to remain as composed and compelling as the day it was installed.
Sources
- [Ceramic Tile Education Foundation – Tile Cleaning & Maintenance](https://www.ceramictilefoundation.org/blog/topic/tile-cleaning-and-maintenance) - Industry-backed guidance on appropriate cleaning methods and products for tile.
- [Tile Council of North America (TCNA) – Grout and Sealant Considerations](https://www.tcnatile.com/faqs/71-grout-a-sealant.html) - Technical insights into grout types, sealing, and maintenance best practices.
- [MIA+BSI (Natural Stone Institute) – Stone Care & Maintenance](https://www.naturalstoneinstitute.org/consumers/care/) - Authoritative recommendations on caring for marble, limestone, and other natural stones.
- [EPA – Mold and Moisture in Homes](https://www.epa.gov/mold/mold-remediation-schools-and-commercial-buildings-guide) - Guidance on moisture management and mold prevention relevant to wet-area tile installations.
- [Porcelanosa – Tile Cleaning and Maintenance Recommendations](https://www.porcelanosa.com/uk/tile-maintenance/) - Manufacturer-specific advice for cleaning and preserving porcelain and ceramic tiles.