This guide steps beyond basic how‑to advice and focuses on the refined decisions that separate a standard installation from a considered, architectural finish. Along the way, you’ll find five exclusive insights that sophisticated homeowners consistently appreciate when working with tile professionals.
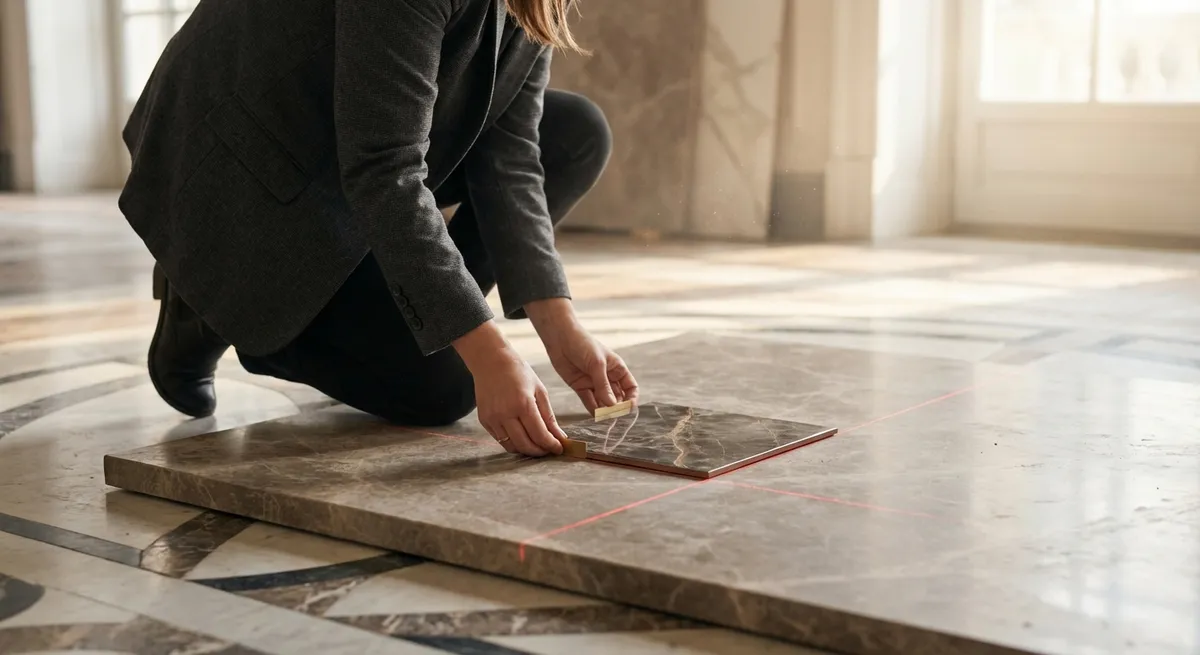
Designing the Layout as if It Were Joinery
An exceptional tile installation begins long before thinset touches the substrate. The layout should be treated with the same rigor as fine cabinetry or bespoke millwork.
A refined layout aligns tile joints with architectural sightlines: door centers, window mullions, faucet positions, island edges, and even key pieces of furniture. Rather than defaulting to a “start in the corner and run” approach, the installer should map the room from its most visible vantage points—the entry, the main seating area, the first view when the door opens.
For large-format tiles, consider how each tile relates to the room’s proportions. A single full tile elegantly centered under a freestanding tub, or a grout joint perfectly intersecting a vanity centerline, tells a story of deliberate design. On walls, vertical joints should carry through across niches, corners, and transitions; where this isn’t possible, cuts should be concealed behind fixtures or in visually quieter zones.
Exclusive Insight #1: The ‘Primary View Axis’ Rule
Before approving any layout, stand at the main entry to the room and identify your primary view axis—where your eye naturally travels first. Insist that the layout be optimized from that vantage point, even if it requires slightly less convenient cuts in tucked-away areas. This prioritizes the first impression and delivers an installation that feels innately “right” without drawing attention to itself.
The Science Beneath the Surface: Substrates, Movement, and Stability
True luxury in tile is invisible: it resides in the unseen layers that prevent cracks, hollow sounds, and premature failure. A premium installation treats the substrate as a structural system, not a flat surface to be “good enough.”
Floors must meet minimum stiffness requirements to support brittle materials like porcelain and stone; where there is flex, there will eventually be fracture. On wood framing, this often means additional underlayment or an uncoupling membrane to manage movement and differential expansion. In wet areas, cement backer boards or properly detailed foam boards, combined with waterproofing membranes, are essential—not optional.
Movement joints are another sophisticated but frequently overlooked element. Perimeters, changes in plane, and large expanses require strategic soft joints to absorb expansion and contraction. Done well, these joints disappear into the pattern yet quietly preserve the integrity of the installation for years.
Exclusive Insight #2: Ask for the Assembly, Not Just the Product
When planning a project, don’t just choose tile and grout; request a written “assembly” from your installer or designer—substrate, waterproofing or uncoupling layer, mortar type, grout type, and sealants, all specified by brand and product line. This holistic view helps ensure material compatibility and gives you a defensible standard should future repairs or additions be needed.
Calibrating Grout as a Design Element, Not a Necessity
Grout is often treated as a technical requirement rather than a design opportunity. In sophisticated interiors, grout color, joint width, and texture are as considered as the tile itself.
A tight joint with color-matched grout can create a monolithic, stone-like effect—ideal for serene, spa-like bathrooms or gallery-style spaces. Conversely, a deliberately contrasted grout can emphasize pattern and geometry, well suited to classic subway layouts or heritage-inspired floors. The key is intentionality: the joint should either quietly vanish or confidently articulate the pattern; anything in between tends to look unresolved.
Grout performance also matters to those who prize enduring elegance. High-performance cementitious grout or epoxy grout can dramatically reduce staining, efflorescence, and maintenance burdens. While the initial investment is higher, the payoff in long-term appearance and resilience is significant, particularly in kitchens, entryways, and showers.
Exclusive Insight #3: Sample Grout in Context of Light and Scale
Instead of choosing grout from a fan deck, create a small test board using your actual tile and two or three candidate grout colors, applied at the intended joint width. View it in your own space under both natural and artificial light, at the distance you will most often experience it (not just up close). This small exercise prevents many of the most common aesthetic disappointments.
Precision at the Edges: The Luxury of Clean Terminations
Edges and transitions are where installations reveal their true quality. A polished field of tile can be undermined by clumsy cuts at doorways, stair nosings, or shower returns. The most elevated projects treat these terminations with tailored care.
Metal edge profiles (in stainless, brass, or color-matched finishes) can create razor-sharp transitions and elegantly protect exposed tile edges. Where stone thresholds or custom-fabricated nosings are used, matching heights and bevels across adjoining rooms yields a quiet sense of continuity. In showers, aligning the slope of the pan with minimal, well-placed linear drains preserves visual calm while ensuring proper drainage.
The meeting of dissimilar materials—tile to wood, tile to carpet, tile to polished concrete—warrants detailed discussion. Transitions should feel purposeful, not like afterthoughts forced by height differences or product limitations. In premium installations, these points often become subtle design moments rather than compromises.
Exclusive Insight #4: Establish an ‘Edge Strategy’ Early
During planning, request an “edge strategy” document or drawing that clarifies how every exposed edge and material transition will be treated: profiles, thresholds, overlaps, or flush reveals. Approving this early prevents improvisation on site and ensures that every termination reflects the same level of refinement as the field tile.
Time as a Material: Respecting Curing, Sequencing, and Use
One of the most understated luxuries in tile installation is patience. High-end results rely on respecting cure times, sequencing trades intelligently, and delaying heavy use until the installation has matured.
Mortar and grout require specific curing conditions to reach full strength and color stability. Premature cleaning, covering with impermeable materials, or exposing surfaces to extreme temperature shifts can introduce subtle defects: shading, hairline cracks, or debonding that may not appear immediately. In showers, rushing the use of a new installation can compromise waterproofing layers and grout integrity.
Equally important is sequencing adjacent work. Heavy cabinetry, stone countertops, or glass enclosures should be installed with an understanding of how their weight and attachment methods might affect the tiled substrate. When installers, builders, and designers coordinate schedules, the tile is protected from impact, contamination, and unnecessary rework.
Exclusive Insight #5: Ask for a Post-Installation Protection and Use Plan
Before work begins, request a written plan outlining how the tile will be protected during the remainder of construction (coverings, access restrictions) and when it can safely be walked on, cleaned, and fully used. This transforms “waiting time” into a clearly managed phase of the project and preserves the sharpness of the final result.
Conclusion
Exquisite tile work is rarely the product of a single spectacular tile choice; it results from a series of disciplined, often quiet decisions—how the layout respects architecture, how the substrate supports stability, how grout participates in the design, how edges resolve, and how time is honored as the final ingredient.
For the homeowner who values subtlety and permanence, engaging in these deeper layers of the installation process is not overthinking—it is stewardship. When every joint, edge, and plane is considered with this level of intent, tile ceases to be mere surface and becomes part of the home’s architectural character for decades to come.
Sources
- [Tile Council of North America (TCNA) Handbook](https://www.tcnatile.com/products-and-services/publications/tcna-handbook.html) - Industry reference for tile installation methods, substrates, and performance standards
- [American National Standards Institute (ANSI) A108/A118/A136.1](https://webstore.ansi.org/standards/tca/ansia108a118a1362019) - Technical standards governing ceramic tile installation and setting materials
- [Schluter Systems – Movement Joints and Uncoupling Principles](https://www.schluter.com/schluter-us/en_US/Movement-Joints/c/MJ) - Detailed guidance on movement accommodation and uncoupling for durable installations
- [LATICRETE – Waterproofing and Shower System Design](https://laticrete.com/en/tile-and-stone-installation/waterproofing) - Best practices and product systems for waterproof tile assemblies
- [Floor Decor – Grout Types and Performance Comparison](https://www.flooranddecor.com/design-and-inspiration/grout-types.html) - Overview of different grout technologies and their maintenance implications