This guide explores tile installation as a crafted process rather than a quick project, with five exclusive insights that help you collaborate intelligently with your installer and steward a surface that will age with dignity.
Designing the Subsurface: Where Luxury Truly Begins
Exquisite tile work begins long before adhesive meets porcelain or stone. The substrate—the structural layer beneath your tile—is the invisible foundation of luxury. A slab that is not properly leveled, a subfloor that flexes, or a shower wall that is not perfectly plumb will eventually reveal itself as lippage, hairline cracks, or failing grout.
In discerning projects, installers often specify premium underlayments such as cement backer boards or uncoupling membranes not as upsells, but as insurance policies for long-term stability. A properly prepared substrate is both flat and appropriate for the tile size and material; oversized format tiles, for example, demand an exceptionally level base to avoid uneven edges. Moisture-sensitive areas like baths and steam showers benefit from integrated waterproofing systems rather than piecemeal solutions, preventing hidden damage that only becomes visible when it is expensive to fix.
The most elevated tile installations treat the substrate as a design decision: sound-dampening layers are added in multi-story homes, radiant heat systems are neatly integrated, and expansion joints are intentionally laid out so they disappear into grout lines. When you invest in what you will never see, the surfaces you do see remain pristine for years.
Precision Layout: The Quiet Geometry Behind Every Room
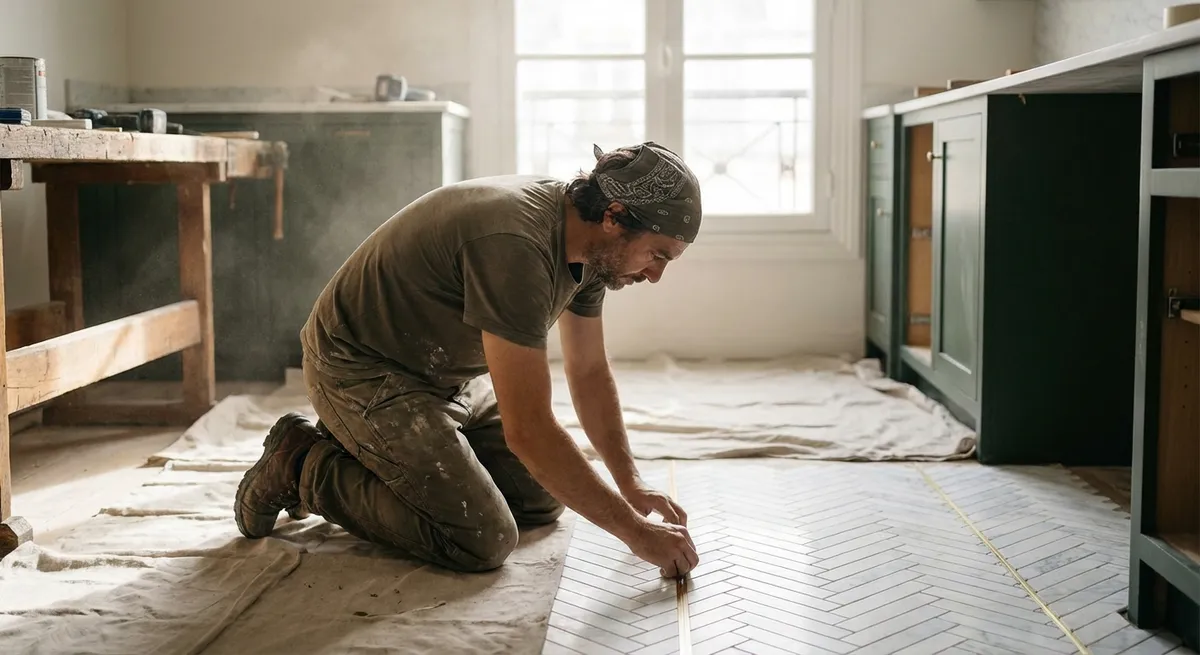
Before a single tile is set, a sophisticated installation is drawn, dry-laid, measured, and mentally rehearsed. It is in this stage that a room’s “tile geometry” is defined—how lines interact with thresholds, cabinetry, architectural niches, and sources of natural light.
An elevated installer will begin from a visual anchor, not just the center of the room: perhaps aligning grout joints with a freestanding tub, framing a fireplace, or ensuring that doorways transition seamlessly with minimal cuts. Symmetry is carefully negotiated with practicality so that small, awkward slivers of tile are avoided at perimeters. In long corridors or open-plan spaces, continuous lines are plotted to carry the eye gracefully rather than abruptly breaking the pattern at each room boundary.
For homeowners, this is the moment to insist on a shared layout plan: discuss where full tiles will fall, how corners will be treated, and how patterns will resolve around floor registers, outlets, and built-ins. This quiet pre-installation choreography is often what distinguishes a high-end result from a merely adequate one. The most memorable spaces feel “inevitably right” because their layout was not left to chance.
The Art of Joint Selection: Grout as Design, Not Afterthought
In premium interiors, grout is never just filler; it is a subtle design instrument that can either calm a surface or articulate its geometry. Too many projects falter at this stage, when a quickly chosen grout color distracts from otherwise beautiful tile.
A refined approach starts with intent. If the goal is a near-monolithic look—for example, large-format porcelain in a spa-like bathroom—grout can be carefully color-matched to the tile, softening joints and allowing the material to read as a continuous plane. Conversely, if you wish to celebrate the pattern of a herringbone, basketweave, or subway layout, a slightly contrasting grout can draw out the rhythm without appearing busy. The key is nuance: half-shade differences are often more elegant than stark contrasts.
Joint width and grout technology matter just as much as color. Narrow joints can look contemporary and tailored, but they demand a very flat substrate and precise cutting. Advanced grout formulations with stain resistance or epoxy bases, while more demanding to install, can dramatically improve longevity in kitchens and showers. A discerning homeowner treats grout specifications as seriously as fixture finishes or fabrics—because over time, grout is what you will actually live with and maintain.
Surface Harmony: Integrating Trim, Edges, and Transitions
The true test of elevated tile work is often found at the edges: where tile meets paint, stone, wood, glass, or simply ends in open space. These moments either read as brutally cut-off or meticulously finished, depending on the thought given to trim and transitions.
High-caliber installations consider edge details from day one. Porcelain or stone lines may be completed with matching bullnose or mitered corners for a sculpted finish. In more contemporary settings, slim metal profiles in brushed nickel, black, or brass can quietly frame a niche, stair riser, or shower edge, echoing the language of door hardware and fittings. Thresholds where tile meets timber or carpet should feel deliberate: a single, elegantly sized transition piece is preferable to a cluster of improvised strips.
Vertical transitions matter equally. The plane where a tiled shower wall stops and painted drywall begins should be resolved with a clean, level termination—not an arbitrary height. Built-in benches, window returns, and shampoo niches require thoughtful alignment so that grout lines flow through them rather than awkwardly breaking. When every border is treated as a design opportunity rather than a problem to be concealed, the room feels tailored, not patched.
Performance Tailoring: Matching Setting Materials to Lifestyle
Behind every premium tile installation is a hidden chemistry set of adhesives, membranes, and mortars. The sophistication lies in matching these to the specific tile type, room function, and how the space will actually be used.
Dense porcelain, natural stone, glass mosaic, and encaustic cement each demand different setting behaviors. Large-format porcelain floor tile in a busy kitchen may call for a high-performance, polymer-modified thinset with extended open time, ensuring consistent coverage and reducing voids. Natural stone in a sun-drenched conservatory may need carefully selected, non-staining mortars and movement accommodation to prevent warping or discoloration. Glass tile, particularly in showers or pools, often requires specialty adhesives engineered for translucency and flexibility.
For homeowners, the key is to ask not just “Is this suitable?” but “Is this optimized for how we live?” Do you entertain frequently and need stain-resistant systems and easy-clean finishes? Are there areas exposed to thermal swings from radiant heat or sun? Are some spaces expected to remain visually perfect while others can accept subtle patina? When installation materials are tailored to anticipated use rather than generalized assumptions, your tile surfaces remain composed under real-life pressures.
Five Exclusive Insights for the Attentive Homeowner
For those intent on creating quietly exceptional tiled spaces, these five insights can guide more intelligent decisions and conversations with your installer:
Request a Full Mock-Up, Not Just a Sample Board
Instead of approving only loose tiles, ask for a small installation mock-up including your chosen grout and joint width. This reveals how light interacts with the finished surface, how textures read at scale, and whether your grout choice supports or competes with the tile. A one-square-foot board cannot replicate the effect of a composed section of wall or floor.
Prioritize Light Studies Before Final Layout
Observe how natural and artificial light move through the room at different times of day before fixing the tile direction or pattern. Subtle textures, veining, and edge shadows will appear differently when the tile runs parallel to the primary light source versus perpendicular. Aligning tile direction with light can minimize visible lippage and harmonize reflections, especially with polished or large-format materials.
Align Tile Strategy with Furniture and Millwork, Not Just Walls
Consider the final placement of vanities, wardrobes, kitchen islands, and built-ins when planning your tile grid. It is often more elegant to center or align tiles on these fixed elements than on walls that may be visually less important. This is especially critical in powder rooms, entry halls, and living areas where furniture groupings define how the space is actually experienced.
Calibrate Tolerances, Not Just Aesthetics
Ask your installer to explain the leveling standards and tolerances they are using (for example, the maximum allowable lippage for your tile size). While this may sound technical, it reveals whether the installation is being approached to minimum code or to a more meticulous, luxury standard. A premium result frequently exceeds the baseline requirements of industry guidelines.
Negotiate a Post-Installation Review, Not Just a Walkthrough
Beyond the usual final inspection, schedule a review several weeks after installation—once the space has been used and grout and sealers have fully cured. This allows subtle issues to surface, such as hollow-sounding tiles, minor grout discolorations, or movement at transitions. Building this review into the agreement encourages a level of accountability and refinement that truly distinguishes curated work.
Conclusion
Elevated tile installation is a choreography of invisible structure, measured geometry, and disciplined finishing. The tiles themselves may be beautiful, but it is the substrate, layout, grout strategy, transitions, and material choices that determine whether the result feels quietly luxurious or quietly compromised.
For the discerning homeowner, engaging thoughtfully with these layers transforms tile from a mere finish into a crafted architectural element that supports how you live, move, and gather. When every line is intentional and every joint is considered, tiled surfaces cease to be backgrounds—they become the calm, enduring framework of a cultivated home.
Sources
- [Tile Council of North America (TCNA) Handbook](https://www.tcnatile.com/products-and-services/publications/handbook.html) - Industry reference for tile installation methods, standards, and best practices
- [American National Standards Institute (ANSI) A108/A118/A136.1 Specifications](https://webstore.ansi.org/standards/tca/tcaa108a118a1362018) - Technical standards governing ceramic tile installation and setting materials
- [Schluter Systems – Waterproofing and Uncoupling Membranes](https://www.schluter.com/schluter-us/en_US/solutions/waterproofing) - Technical overviews of substrate preparation, waterproofing, and uncoupling strategies
- [American Society of Interior Designers (ASID) – Lighting and Surface Interaction](https://www.asid.org/resources/resource-center) - Resources on how light interacts with materials and surfaces in interior environments
- [National Institute of Standards and Technology (NIST) – Flooring and Building Materials Research](https://www.nist.gov/programs-projects/building-materials-and-structures) - Research background on building materials performance and durability