Below are five exclusive, under‑discussed insights that elevate tile installation from competent to exceptional.
1. The Art of Alignment: Designing Sightlines Before Layout
Most tile layouts begin at a centerline; the most elevated installations begin with a sightline. Instead of defaulting to “center of the room,” a skilled installer considers how the space is actually experienced: the view from the entry, the angle from the sofa, the perspective while standing at the vanity or cooktop.
Refined tile work often aligns grout joints with architectural anchors—door casings, tub edges, window mullions, island bases, and even major furniture footprints. A shower niche centered on the wall but misaligned with the floor grout joints looks subtly wrong, even if the homeowner can’t articulate why. Likewise, a hallway runner of tile that visually “threads” through doorways without slivers at thresholds feels intentionally composed.
For homeowners, the key is to discuss sightlines in advance. Request a dry layout or full‑scale plan that notes how tiles terminate at transitions and how grout lines interact with doors, cabinetry, and built‑ins. Elegant tile work is less about the material itself and more about the discipline with which lines are orchestrated.
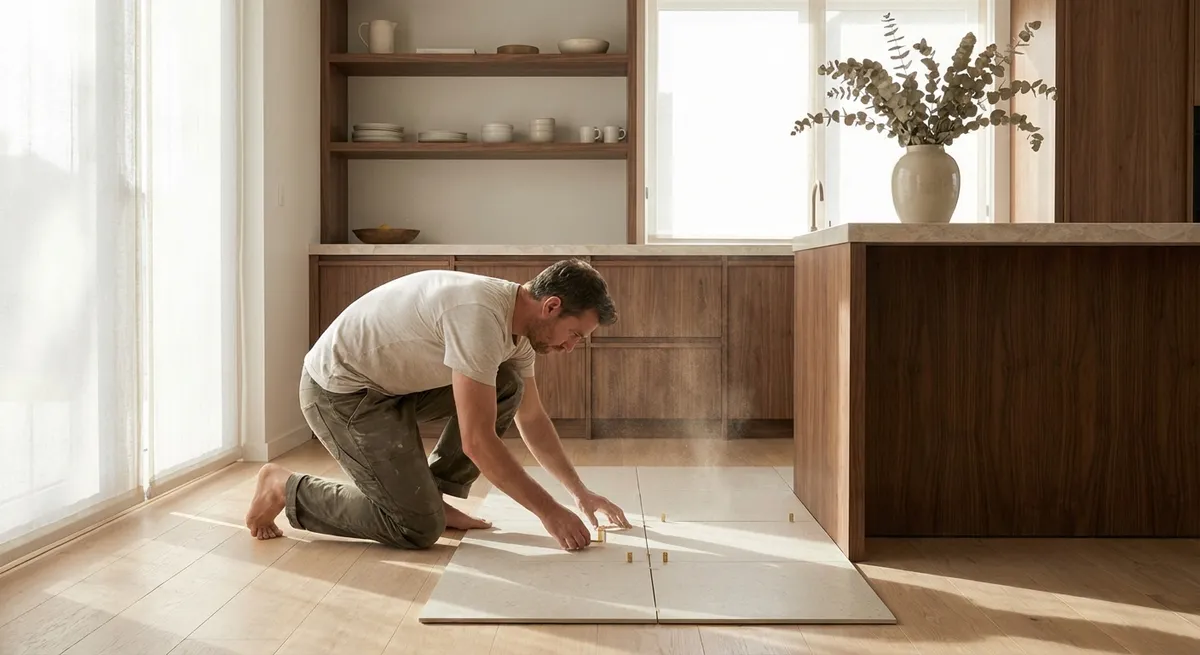
2. Substrate as Foundation: Quiet Surfaces Start Below the Tile
A premium tile surface begins long before the first tile is set. The substrate—the base layer beneath the tile—is the unsung hero of every exceptional installation. Even the most expensive stone or porcelain will look compromised if it telegraphs unevenness, flex, or movement from below.
High‑end projects rarely accept “good enough” substrates. Instead, installers use self‑leveling underlayments, appropriate backer boards, or uncoupling membranes to correct imperfections and manage movement. On walls, a true plumb and flat surface allows large‑format tiles to sit flush, eliminating the “lip” that catches light at the edges and undermines the sense of quiet continuity.
Homeowners should not hesitate to ask for substrate preparation details in the proposal: What thickness will the underlayment be? How will changes in height be managed at transitions? Will an anti‑fracture or uncoupling membrane be used in areas prone to movement? Investing in an impeccable substrate is the difference between tile that simply looks acceptable on day one and tile that remains composed and crack‑free many years later.
3. Grout as a Design Instrument, Not an Afterthought
In lesser installations, grout is an afterthought—a color chosen at the end of a project from a small plastic swatch. In elevated work, grout is treated as an integral design element that shapes the entire impression of the surface.
A nearly tonal grout (closely matched to the tile) creates a monolithic, hushed field that highlights texture and shape rather than grid lines. A subtle contrast accentuates pattern and module—ideal for herringbone, chevron, or intricate mosaics. Excessively high contrast, on the other hand, can visually “busy” a room and shorten its visual lifespan, particularly in spaces meant to feel calm and restorative.
Joint width is equally important. Ultra‑narrow joints with rectified tiles can yield a sleek, contemporary effect, but demand a precise substrate and meticulous layout. Slightly wider joints may suit rustic, handmade, or stone tiles where micro‑irregularities add charm. For homeowners, requesting a small mock‑up of two or three grout color options over several tiles, viewed in your actual lighting, is a sophisticated step that ensures the final surface feels deliberate, not improvised.
4. Managing Thresholds and Transitions with Deliberate Restraint
The elegance of a tile installation is often revealed at its edges. Transitions—where tile meets wood, carpet, stone, or other tile—either feel abrupt or beautifully resolved. In refined spaces, thresholds are not treated as interruptions, but as quiet moments of punctuation.
Rather than defaulting to bulky metal strips or generic reducer profiles, consider shadow reveals, minimal trim, or custom stone thresholds that echo the palette of the room. A unified floor plane between adjacent spaces, achieved through careful planning of build‑up layers, gives a residence a tailored, seamless feel. When changes in level are unavoidable, a gentle slope or thoughtfully chosen threshold material can make the shift feel intentional rather than accidental.
Homeowners should ask: How will this tile terminate at the doorway? Will we see cut edges, or is there a finishing strategy? Are the height differences between rooms being considered now, or left to be solved on site at the last moment? Elevated installations treat 3 mm of difference with as much seriousness as 30 mm—it’s that sensitivity to micro‑detail that distinguishes truly high‑caliber work.
5. Light, Texture, and Reflection: Designing for How Tile Is Seen, Not Just Installed
Tile does not exist in isolation; it participates in the choreography of light. The same tile can feel serene or agitated depending on how it reflects, absorbs, or scatters natural and artificial light. Thoughtful installers and designers consider how the direction of tile layout interacts with primary light sources.
For instance, laying rectangular tiles parallel to a window wall can minimize the appearance of lippage because the light travels along the joints rather than perpendicular to them. Textured or three‑dimensional tiles can become sculptural in grazing light but may appear visually restless in highly reflective, glossy finishes. In wet areas, gloss tiles on walls can amplify light beautifully, while honed or matte finishes on floors provide both safety and a more grounded visual field.
Before committing, homeowners should view tile samples both horizontally and vertically, under daytime and evening lighting, ideally in the intended room. Consider how reflectivity, texture, and pattern will feel over large expanses, not just in a small sample. The most sophisticated spaces are those where tile, light, and layout work in concert, creating an atmosphere that feels calm, intentional, and enduring.
Conclusion
Exceptional tile installation is not merely a technical exercise; it is a nuanced craft that lives at the intersection of design, engineering, and restraint. When sightlines are orchestrated, substrates perfected, grout carefully composed, transitions resolved, and light thoughtfully considered, tile becomes more than a surface—it becomes architecture.
For homeowners who care about longevity over novelty, engaging with these subtler aspects of installation is an investment in daily experience. The result is a home where every tiled surface feels quiet, confident, and unmistakably considered—an understated mastery that never needs to shout to be noticed.
Sources
- [Tile Council of North America (TCNA) Handbook](https://www.tcnatile.com/) - Authoritative industry standards and best practices for tile installation and substrate preparation
- [American National Standards Institute (ANSI) A108/A118/A136.1 Specifications](https://webstore.ansi.org/standards/tcnatila/ansia108a118a1362022) - Technical guidelines governing installation methods, mortars, and grouts for ceramic and stone tile
- [Schluter Systems – Uncoupling and Waterproofing Membranes](https://www.schluter.com/schluter-us/en_US/Membranes/c/M) - Technical information on substrates, movement accommodation, and transition detailing
- [Custom Building Products – Surface Preparation Guide](https://www.custombuildingproducts.com/reference-library/surface-preparation.aspx) - Practical substrate preparation recommendations, including self-leveling underlayments and backer boards
- [Porcelanosa Technical Solutions](https://www.porcelanosa.com/en/technical-solutions/) - High-end manufacturer guidance on large-format tile installation, joint design, and finish selection in sophisticated interiors