Designing the Layout Before a Single Tile is Set
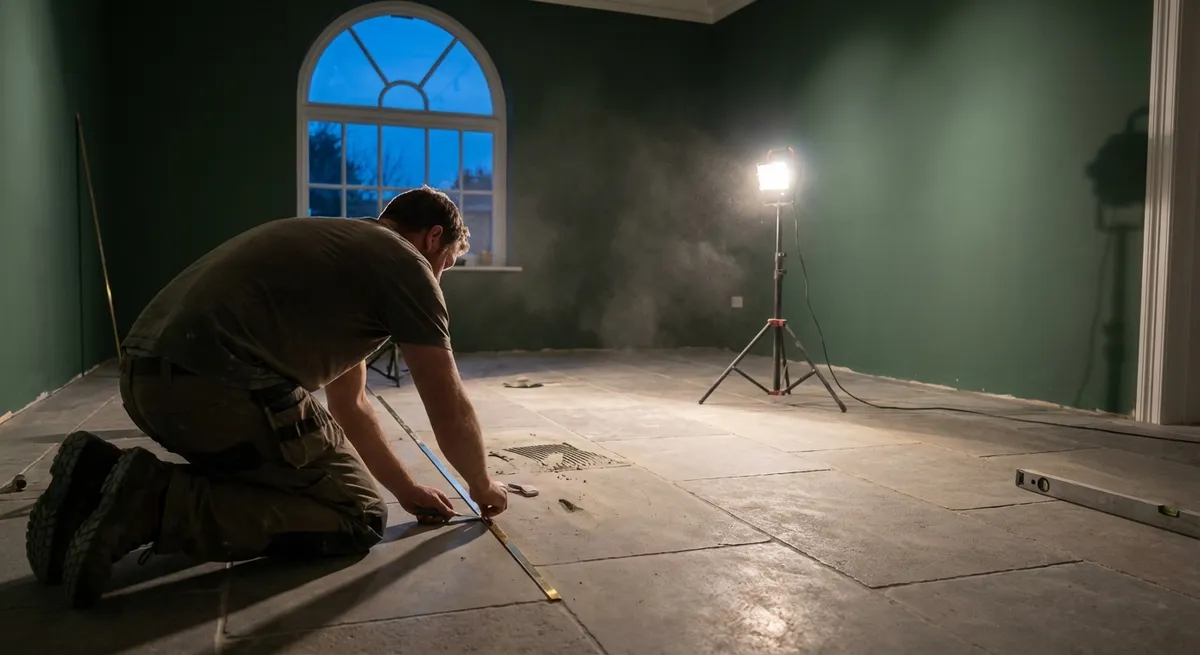
Exceptional tile installation begins long before the thinset is mixed. A refined layout is a design exercise as much as a technical one, and it should be approached with the same deliberation as bespoke millwork or custom cabinetry.
A thoughtful installer will “dry design” the space, sketching or digitally mapping the layout and then testing it on-site with loose tiles. The goal is to position full or near-full tiles in the most visually prominent zones—behind a freestanding tub, at a kitchen range, along a corridor sightline—while relegating small cuts to discreet corners or under vanity overhangs. Door thresholds, window centers, and key architectural axes should influence where the pattern begins and ends.
Homeowners should expect to see, and approve, a layout concept that shows how grout lines align with doorways, how patterns carry through transitions, and where unavoidable cuts will fall. This early-stage dialogue often differentiates a merely competent installation from one that feels quietly bespoke.
The Luxury of Alignment: Grout Lines, Sightlines, and Symmetry
In a premium installation, grout lines are treated not as a necessity, but as part of the composition. When done well, they echo the architecture: mirroring the mullions of windows, the joints of paneling, or the rhythm of ceiling beams. When done poorly, they introduce discord.
For large-format tiles especially, a layout that feels meticulously aligned can make a space read as more expansive and serene. Long corridors benefit from continuous, straight-running joints; open-plan spaces feel more cohesive when tile grids or planks run consistently, rather than shifting direction between rooms without reason.
One exclusive insight experienced tile professionals rely on is the “view hierarchy” test: standing at key entry points to see where the eyes naturally rest, then aligning joints or pattern centers with those focal axes. This anticipatory framing is rarely spoken about in standard installation manuals, yet it is crucial to achieving that sense of visual calm that high-end spaces share.
The Grout Palette: Subtle Color Decisions with Outsized Impact
Grout selection is often treated as an afterthought, but in sophisticated interiors, it is elevated to a deliberate design decision with architectural consequences. The relationship between tile and grout can either sharpen the geometry of the space or dissolve it into a seamless field.
A tone-on-tone palette—grout just a shade lighter or darker than the tile—creates a soft, monolithic effect that feels particularly refined with stone-look porcelains and large formats. By contrast, a contrasting grout emphasizes pattern and shape, ideal for herringbone, chevron, or small-format mosaics where rhythm and repetition are celebrated.
A nuanced but powerful insight is to sample grout not only on a flat plane, but within the actual lighting conditions of the room, both day and night. LED color temperature, natural light orientation, and even the reflectance of nearby surfaces can subtly shift the perceived tone of grout. Professionals will often make small test boards and view them at different times of day before committing—an extra step that pays dividends in long-term satisfaction.
Transitions as Tailoring: Thresholds, Edges, and Elevation
In exceptional tile work, the story is told at the edges. Transitions—where tile meets wood, carpet, stone, or another tile—are analogous to the finishing on a tailored suit. Their success is measured in how little one notices them.
A carefully considered threshold does more than bridge two materials; it manages elevation, acoustics, movement, and visual continuity. Flush or near-flush transitions feel inherently more luxurious, avoiding trip points and awkward ramps. Achieving this often means subtle subfloor preparation, thoughtful underlayment selection, and meticulous planning of finished heights before any tile is unpacked.
Edge profiles—whether minimal metal trims, mitered tile corners, or carefully polished stone edges—signal the level of craft. A small but significant insight: in highly visible corners (such as shower niches or exposed steps), mitered and flawlessly aligned edges read as bespoke joinery in tile form. While they demand greater skill and time, they dramatically elevate the perceived quality of the entire installation.
The Substrate as the Unseen Foundation of Luxury
The most visually arresting tile installation can only be as good as what lies beneath it. For homeowners, this is often the least visible component—and the one most worthy of insistence. A premium tile surface requires a premium substrate.
Flatness is the non-negotiable starting point. Large-format tiles, in particular, are unforgiving; even minor variations in the subfloor can result in lippage, shadow lines, or a vague sense that the floor is “off.” Elite installers will routinely invest significant time in surface preparation: self-leveling, patching, and correcting substrate irregularities before laying a single tile.
Moisture management is equally critical, especially in showers, wet rooms, and terraces. Waterproofing membranes, properly integrated drains, and compatible setting materials are the quiet guardians of durability. A key insight discerning homeowners appreciate is that a well-executed waterproofing system is not a luxury—it is the foundation of every true luxury tile installation. The aesthetic payoff is not in what you see, but in what you never have to repair.
Five Exclusive Insights for Discerning Homeowners
For those pursuing tile work that feels genuinely elevated, these five insider principles will help you collaborate intelligently with your installer and ask the right questions:
- Insist on a layout review from your primary sightlines.
Evaluate proposed tile patterns from doorways, main seating areas, and along corridors; ask that joints and pattern centers be aligned with those natural viewpoints, not simply with walls.
- Treat grout as a design material, not a filler.
Request on-site grout samples viewed under your actual lighting at different times of day. Subtle color shifts can dramatically change how modern, classic, or monolithic the tile feels.
- Demand clarity on transitions before installation begins.
Ask how each material junction will be handled—flush, stepped, trimmed, or mitered. Request a consistent “language” of transitions throughout the home so thresholds feel intentional, not improvised.
- Ask for substrate and waterproofing documentation.
Before approving the finish work, understand which membranes, backer boards, and leveling products will be used, and confirm that they comply with recognized standards and manufacturer guidelines.
- View a small “mock zone” as a proof of intent.
For complex patterns, large-format tiles, or highly visible areas, ask your installer to set a small mock-up (even a few rows) for review. This step reveals alignment, grout joint sizing, and aesthetic nuances in a way drawings cannot.
Conclusion
Enduring, elegant tile installations are never an accident. They are the result of a series of informed decisions—some visible, many invisible—taken with restraint, precision, and respect for the architecture. When homeowners understand the quiet craft behind layout, alignment, grout, transitions, and substrate preparation, they become true collaborators in the process, not passive observers.
The reward is a space where floors and walls do more than perform; they compose the backdrop for daily life with an ease that feels inevitable. That sense of inevitability is the hallmark of luxury in tile: nothing shouts, nothing strains, yet every line, joint, and edge feels exactly where it ought to be.
Sources
- [Tile Council of North America (TCNA) Handbook](https://www.tcnatile.com/technical-services/hbbk-current-edition.html) - Authoritative industry standards and guidelines for tile installation practices
- [American National Standards Institute (ANSI) – A108/A118/A136.1 Specifications](https://webstore.ansi.org/standards/tca/tcaa108a118a1362011) - Technical specifications for installation materials and methods that underpin professional-quality work
- [Schluter Systems – Waterproofing and Substrate Preparation](https://www.schluter.com/schluter-us/en_US/ready-to-tile/waterproofing) - Detailed systems approach to waterproofing, edge profiles, and transitions in tile assemblies
- [Mapei – Large Format Tile Installation Guidelines](https://www.mapei.com/us/en-us/realta-mapei/new-solutions-for-large-format-tiles) - Technical recommendations for substrate flatness, mortars, and techniques specific to large-format tile
- [U.S. Department of Housing and Urban Development – Residential Rehabilitation Guide: Floors and Walls](https://www.huduser.gov/portal/publications/rehab.html) - Best-practice considerations for floors and wall assemblies, including tile, in residential projects