Below, we explore five exclusive, often-overlooked insights that elevate tile installation from competent to truly refined. Each is less about “tips and tricks” and more about thinking like a master setter—so every line, joint, and edge feels deliberately resolved.
1. Designing the Layout Before a Single Tile Is Set
Most installations begin with boxes of tile on-site and a rough sense of where to start. A more exacting approach treats layout as an architectural drawing: fully resolved before adhesive ever hits the substrate.
Begin with the room’s visual axis. Stand at the primary entry and follow where your eye naturally travels—across a hallway, toward a window, to a focal wall. The tile layout should reinforce that axis, not fight it. This may mean centering full tiles on a doorway, aligning grout joints with major architectural lines, or letting a strong veining pattern “flow” in a single consistent direction across the space.
Dry-lay a significant portion of the pattern, not just a few trial pieces. Explore how cuts will fall at thresholds, around columns, or at built-ins. Avoid thin, sliver cuts wherever possible; a ½" strip at the base of a wall reads as a mistake in even the most luxurious material. Instead, subtly shift the layout to absorb cuts in less visible areas, such as under vanities, behind doors, or beneath cabinetry.
This design-led layout phase may take a few hours, but it’s where the final installation gains its sense of calm inevitability—no surprises, no visual stutters, just uninterrupted, controlled rhythm.
2. Treating Substrate Preparation as a Luxury Finish
A flawless tile surface is only as true as the substrate beneath it. While homeowners rarely see this stage, those who insist on premium results insist on premium preparation.
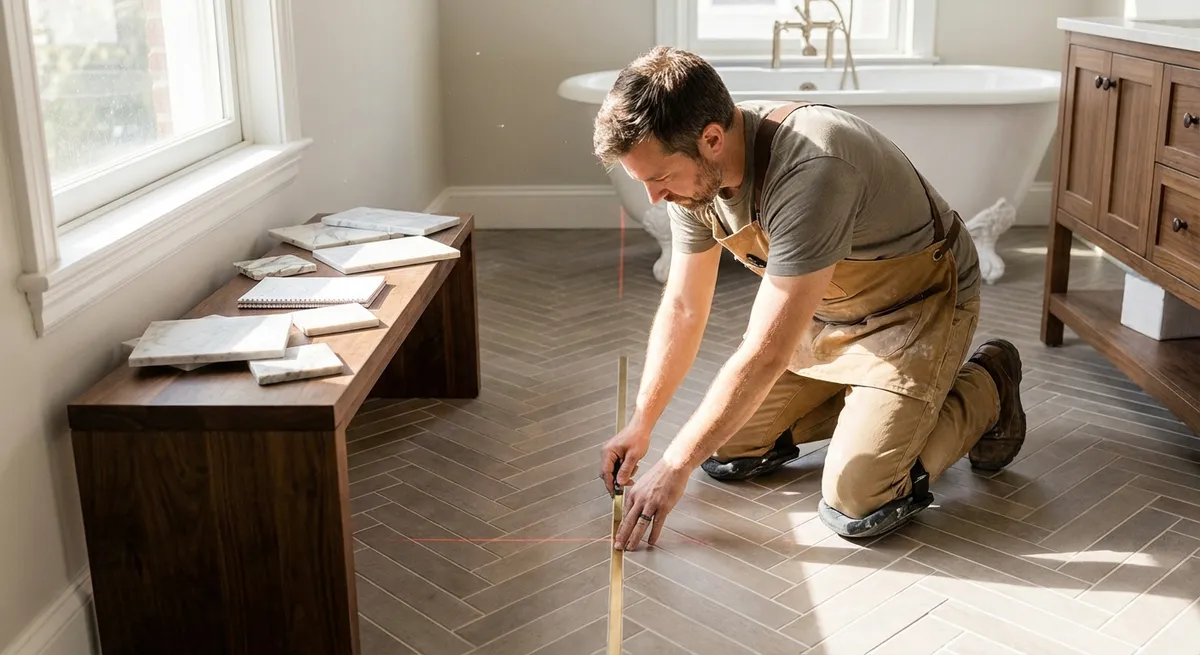
Flatness is the non-negotiable foundation. Large-format tiles in particular demand it; minor undulations telegraph instantly as lippage (where one edge sits higher than its neighbor). Before any setting begins, have your installer check variance across the floor or wall with a long straightedge or laser level. High spots should be ground down; low areas filled with appropriate leveling compounds. On walls, cement backer boards or properly installed foam boards should be plumb, rigid, and well-fastened.
Moisture management deserves equal attention, especially in showers and wet rooms. Behind the tile, waterproofing membranes, sealing of seams, and proper integration with drains and niches determine whether your elegant shower remains pristine or quietly fails over time. This “invisible architecture” is what separates a five-year bathroom from a thirty-year bathroom.
For owners who value longevity, substrate and waterproofing are not where costs should be trimmed. You are investing in the performance of the entire system, not simply in the tile itself.
3. Aligning Grout Strategy with the Tile, Not as an Afterthought
Grout is not filler; it is part of the composition. Thoughtful grout selection and joint design can make an installation feel monolithic and calm—or busy and fragmented.
First, consider joint width as a design decision, not just a technical one. Rectified porcelain and well-cut stone can support narrower joints, creating a sleek, near-seamless appearance. Handmade tile, by contrast, often looks best with slightly more generous joints that respect its variation and intentional irregularity. Discuss with your installer where aesthetics and manufacturer requirements intersect; you’re aiming for the narrowest joint that remains structurally sound and visually appropriate.
Color is equally critical. For a sophisticated, hushed effect, lean toward grout that quietly harmonizes with the tile body—neither starkly matching nor sharply contrasting. A modest tonal shift keeps the pattern legible but softens any grid-like effect. Reserve high-contrast grout for spaces where you intentionally want to celebrate pattern and geometry, such as a classic black-and-white mosaic or a feature wall.
Finally, specify grout type with use in mind. In kitchens, entries, and showers, advanced cementitious or epoxy grouts can offer greater stain resistance and color stability. The refinement you see on day one should endure when the space has been fully lived in, not just freshly completed.
4. Mastering Edges, Transitions, and Terminations
What truly distinguishes elevated tile work is how it begins and ends. Edges, transitions, and terminations are where average installations reveal themselves; they are also where meticulous planning delivers a sense of quiet luxury.
At outside corners and edges, the choice between mitered tiles, bullnose pieces, or metal trims is a stylistic and technical decision. A well-executed miter can be exquisitely clean but demands a skilled installer and robust stone or porcelain that won’t chip under cutting. Factory bullnose pieces provide a softened, traditional finish. Slim metal or color-matched trims can add a contemporary, tailored line—particularly effective for niche edges, shower returns, or window reveals.
Floor transitions deserve equal refinement. Where tile meets hardwood, carpet, or other surfaces, aim for flush or near-flush transitions, not clumsy steps or ramps. Proper underlayment and planning allow both materials to meet gracefully, with a discreet profile or minimal threshold. The experience of walking from room to room should feel continuous, not interrupted.
In showers and wet rooms, pay attention to how tile terminates at glass panels and drain systems. Linear drains aligned with grout joints, or discreet point drains set within a field of mosaics, can transform a functional element into a design feature that feels integrated rather than tacked on.
5. Coordinating Light, Pattern, and Reflectivity
Tile is profoundly influenced by light. The same surface can read sleek or uneven depending on how natural and artificial light play across it. Sophisticated installations anticipate this relationship instead of reacting to it after the fact.
Before committing, bring sample tiles into the space and observe them at multiple times of day. Note how shadows and reflections reveal the tile’s texture—ridges in a “subway” tile, the movement in a marble vein, or the subtle texture of a honed surface. On walls perpendicular to a strong light source, heavily textured or wavy tiles can exaggerate shadows, creating dynamic but potentially busy surfaces. In minimalist rooms, a lower-relief tile may deliver a calmer, more harmonious result.
Gloss level should be intentional. High-gloss tiles bounce light and can open up smaller rooms, but also accentuate minor lippage or substrate imperfections. Honed or matte finishes are more forgiving and often feel more architectural and understated. In bathrooms, consider how steam and water droplets will read on different finishes; what looks pristine in a showroom may perform differently in real use.
Finally, align tile pattern with the direction of light and sightlines. Long planks can elongate a space when run in the direction of the main view; veined stone looks most luxurious when veins are thoughtfully bookmatched or at least consistently oriented. The goal is cohesion: the light, the layout, and the surface all working together in a quiet, deliberate composition.
Conclusion
A premium tile installation is not defined by its price tag or even by the tile itself, but by the intelligence and restraint behind every decision—from the unseen substrate to the last, carefully resolved edge. For the detail-driven homeowner, demanding this level of rigor at each stage transforms tile from a mere finish into a structural part of the home’s character.
When the lines are straight, the joints intentional, the transitions seamless, and the light handled with respect, the result is a space that feels effortlessly composed. The workmanship doesn’t call attention to itself; it simply allows the room to exhale.
Sources
- [Tile Council of North America (TCNA) Handbook](https://www.tcnatile.com/industry-issues/installation.html) - Authoritative guidelines on tile installation methods, substrates, and performance standards
- [Schluter Systems – Waterproofing and Substrate Preparation](https://www.schluter.com/schluter-us/en_US/architect/Waterproofing/c/AW) - Technical resources on underlayments, waterproofing membranes, and transitions for tile assemblies
- [Custom Building Products – Surface Preparation Guide](https://www.custombuildingproducts.com/reference-library/technical-bulletins/surface-preparation.aspx) - Detailed recommendations for ensuring flat, stable substrates prior to tile installation
- [MAPEI Technical Library](https://www.mapei.com/us/en-us/technical-library) - Professional documents on mortars, grouts, and tile-setting systems, including guidance for large-format tile and demanding environments
- [Porcelanosa – Tile Installation Recommendations](https://www.porcelanosa.com/usa/tile-installation/) - High-end manufacturer guidelines on layout, grout selection, and detailing for premium tile finishes