Inspired by the current fascination with historic architecture and the renewed respect for original details, this guide translates that heritage mindset into practical, today-ready tile repair strategies. Whether you live in a 1920s bungalow or a 2020s condo, you can borrow the same principles conservators use on those Instagram-famous old houses—and apply them elegantly in your own space.
Below are five exclusive, detail-driven insights to help you achieve repair solutions that feel curated, not patched.
Respect the Patina: Color-Matching Beyond the Paint Chip
The most shared images of historic homes rarely feature “perfect” surfaces—they feature honest ones. Slightly softened edges, nuanced color variations, and the quiet depth that only time can produce. When repairing tile, chasing a flawless, factory-fresh look can actually cheapen a space that’s otherwise rich with character.
Instead, treat every repair as an exercise in patina-matching. Don’t just match the base color of the tile; study the micro-variations the way a conservator would: warmer edges from years of sunlight, slightly darker grout lines where water has pooled, faint crazing in glazed ceramic. Work with tile suppliers who can custom-tint grout or source small-batch, kiln-fired pieces with intentional variation. For minor surface repairs, consider tinted epoxy fillers layered in ultra-thin applications, building depth rather than attempting a single, flat patch. The goal is not a tile that looks “brand new,” but one that could plausibly have been there all along.
Treat Grout Like Millwork: Precision Repairs, Not Smudged Lines
In those viral photos of stunning old interiors, your eye often lingers on the crisp lines of wainscoting or paneling. Tile grout deserves the same precision. Many DIY repairs fail not because of the tile itself, but because grout lines are treated as an afterthought—smeared, overfilled, or carelessly color-mismatched.
Approach grout repairs as you would a fine line of joinery. Before re-grouting, undercut and clean the existing joints with surgical care, preserving the original joint profile wherever possible. If your tiles were originally installed with a narrow, almost hairline joint, resist the temptation to “update” to a wider, trendier grout line in the patched area; inconsistency is what makes repairs scream. Use sample boards to test grout colors dry and sealed—many shades deepen dramatically once sealed, particularly in high-end microcement or epoxy formulations. For historic or heritage-inspired spaces, consider a slightly softened, stone-like grout tone rather than harsh white; it lends instant gravitas, and small repairs become visually quieter.
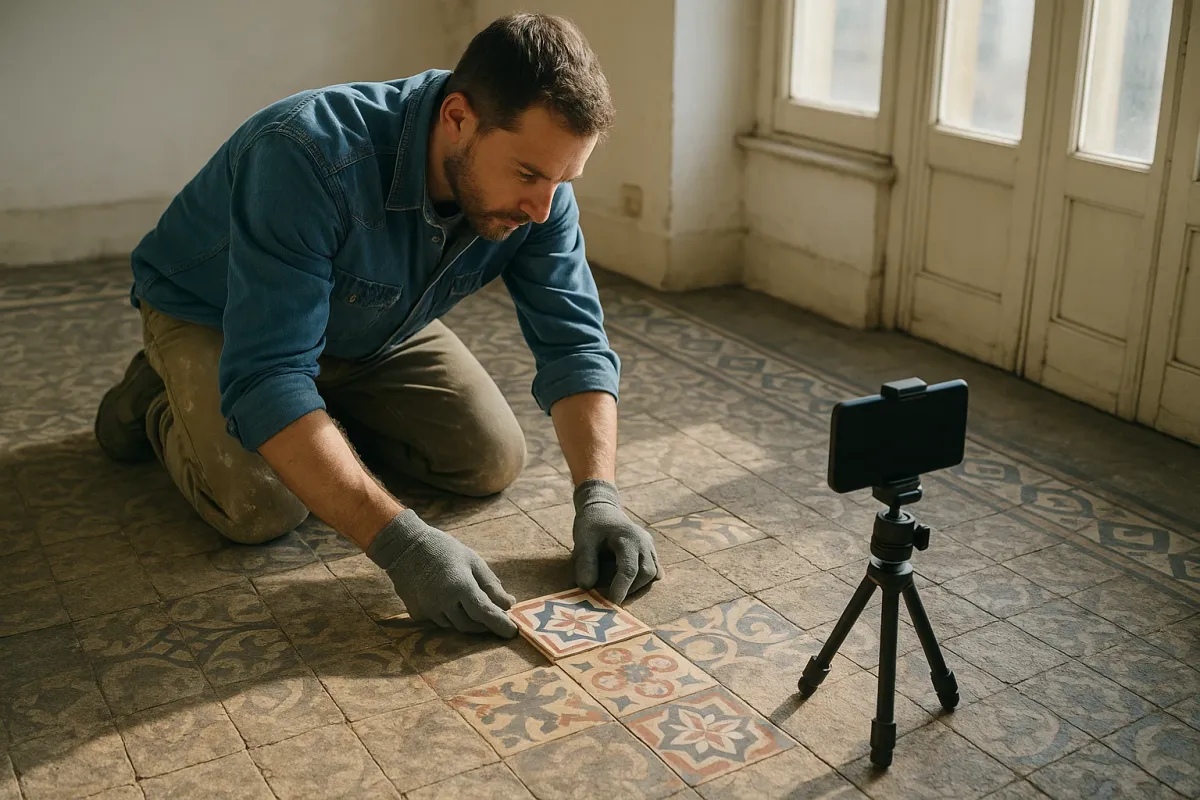
Honor Layout Geometry: Invisible Repairs Start With the Pattern
The most striking photographs of old homes in today’s features often highlight one thing: impeccable alignment. Whether it’s a Victorian encaustic foyer or a restrained midcentury bathroom, the underlying geometry is remarkably disciplined. When a repair disregards that geometry, every other detail suffers.
Before lifting a single tile, map the existing pattern. Note not just the layout, but where the pattern breaks: the centerline of the room, the way borders resolve at thresholds, how angled cuts meet at corners. When replacing damaged tiles, prioritize preserving these “anchor points,” even if it means more careful cutting or sourcing a few extra pieces. For patterned or encaustic-look tiles, order at least a small overage and blend new tiles discreetly across a larger area instead of replacing one obvious square in isolation. Spreading the new material allows the eye to read variation as intentional rather than accidental—an approach restorers rely on when filling losses in historic floors.
Choose Adhesives and Sealers the Way You’d Choose Skincare
In the same way luxury skincare is tailored to a specific complexion, truly premium tile repairs rely on materials tuned to the substrate, tile type, and environment. Historic homes—those now trending in photo series and social feeds—often sit on substrates that were never designed for modern, rigid assemblies. Matching your repair products thoughtfully can prevent hairline cracks, hollow spots, or premature failure that undermines the elegance you’re aiming for.
For older substrates or mixed assemblies (concrete patches, original planks, and modern underlayments all meeting in one room), consider deformable, high-performance thinsets and crack-isolation membranes under repair zones. They quietly absorb movement, rather than transferring stress to the tile. When it comes to sealers, avoid the one-size-fits-all impulse. A honed marble bathroom floor may demand a penetrating, matte sealer that preserves a velvety look, while a high-traffic terrazzo entry might benefit from a more robust, maintainable system. The most refined repairs are often invisible not because nothing was done, but because the chemistry of what was done is perfectly tuned.
Repair as Curation: Document, Don’t Erase, the Story of the Space
Those photo collections of “Beautiful Old Houses” resonate because they tell a story: multiple generations, layered decisions, careful interventions. The best tile repairs embrace that narrative rather than trying to reset it. A sophisticated homeowner treats every repair as a curatorial decision: what do you preserve, what do you discreetly upgrade, and what do you intentionally leave as a trace of time?
Before starting any repair, photograph the existing condition thoroughly—cracks, irregularities, even charming flaws. If you’re lifting original tile, label and store removed pieces, especially trim or specialty shapes that might be impossible to replace later. Where full replacement is unavoidable (say, after a plumbing failure), consider salvaging intact tiles and reusing them in a built-in niche, a powder room, or a backsplash detail elsewhere in the home. This “relocation” of original material keeps the continuity of the house intact. Keep a simple “tile dossier” for the property: sources, batch numbers, grout codes, and before/after images. It’s a small, almost boutique-level touch, but it elevates your home’s story and becomes priceless for future repairs—or future owners who appreciate craftsmanship as much as you do.
Conclusion
As social media continues to spotlight the quiet grandeur of well-preserved old houses, our expectations for tile work—new and old—are rising. Repair is no longer a quick patch; it’s a design decision, a conservation act, and a statement about how we value craftsmanship. By respecting patina, treating grout as a precision detail, honoring layout geometry, choosing materials with the care of a bespoke regimen, and curating every intervention, you can achieve tile repairs that feel as intentional as the most celebrated historic interiors.
In an age where the most admired homes are the ones that wear their history beautifully, the true luxury isn’t newness—it’s continuity, executed with exquisite care.